Selecting the right design and size of your covers is an important process in producing your covers. It would help if you always take note of the industry that you will be using and the social platforms' size requirements on where you will be posting them.
To select a design for your Social Cover, follow these steps:
Step 1. From the main dashboard, click Create Covers.
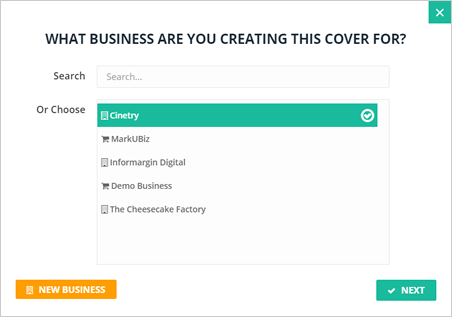
Step 2. Select a business and click Next.
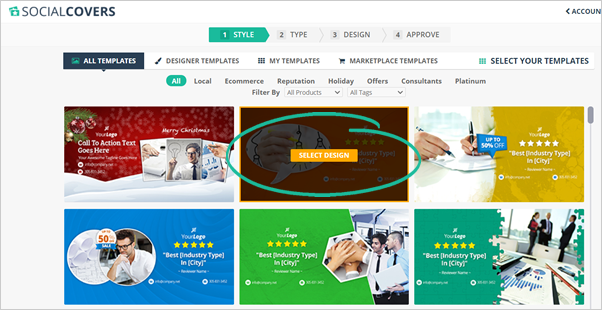
Step 3. Hover your mouse on the template that you want to use and click the Select Design button once it appears.
You can only select one template design in this section.
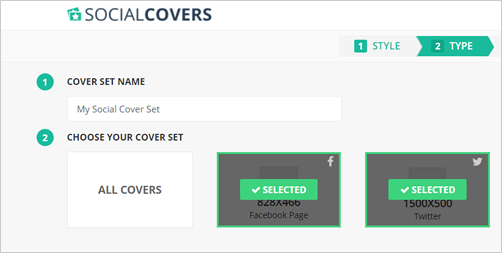
Step 4. Your Social Cover sizes are already predefined in this section. You just need to select the covers that will be included in your Cover Set. Determine where you want to use them - will it just for Facebook or every social platform?
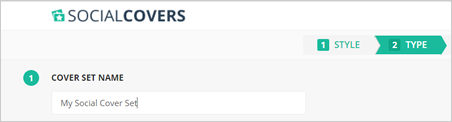
Step 5. Type the name of your Cover Set.
If you have AdBlock Plus or any similar extension installed, please disable it before proceeding to the Design Section. Social Covers uses a flash-based editor and might not function properly if your AdBlock is active.
Step 6. Select the covers that you want to include in your Cover Set.
Step 7. If you want to select all covers available, you can click All Covers.
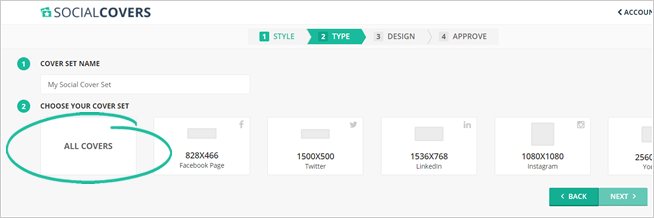
Step 8. Once you are done selecting the covers that you want to use, click Next.
Related Articles:
Making Your Logo Visible From The Cover’s Background
How to Use Social Covers to Redirect People to a Website
Social Covers Advanced Training
How to Use Background Remover
SC How to Create a Custom Template
How Many Additional Covers Templates Can I Get