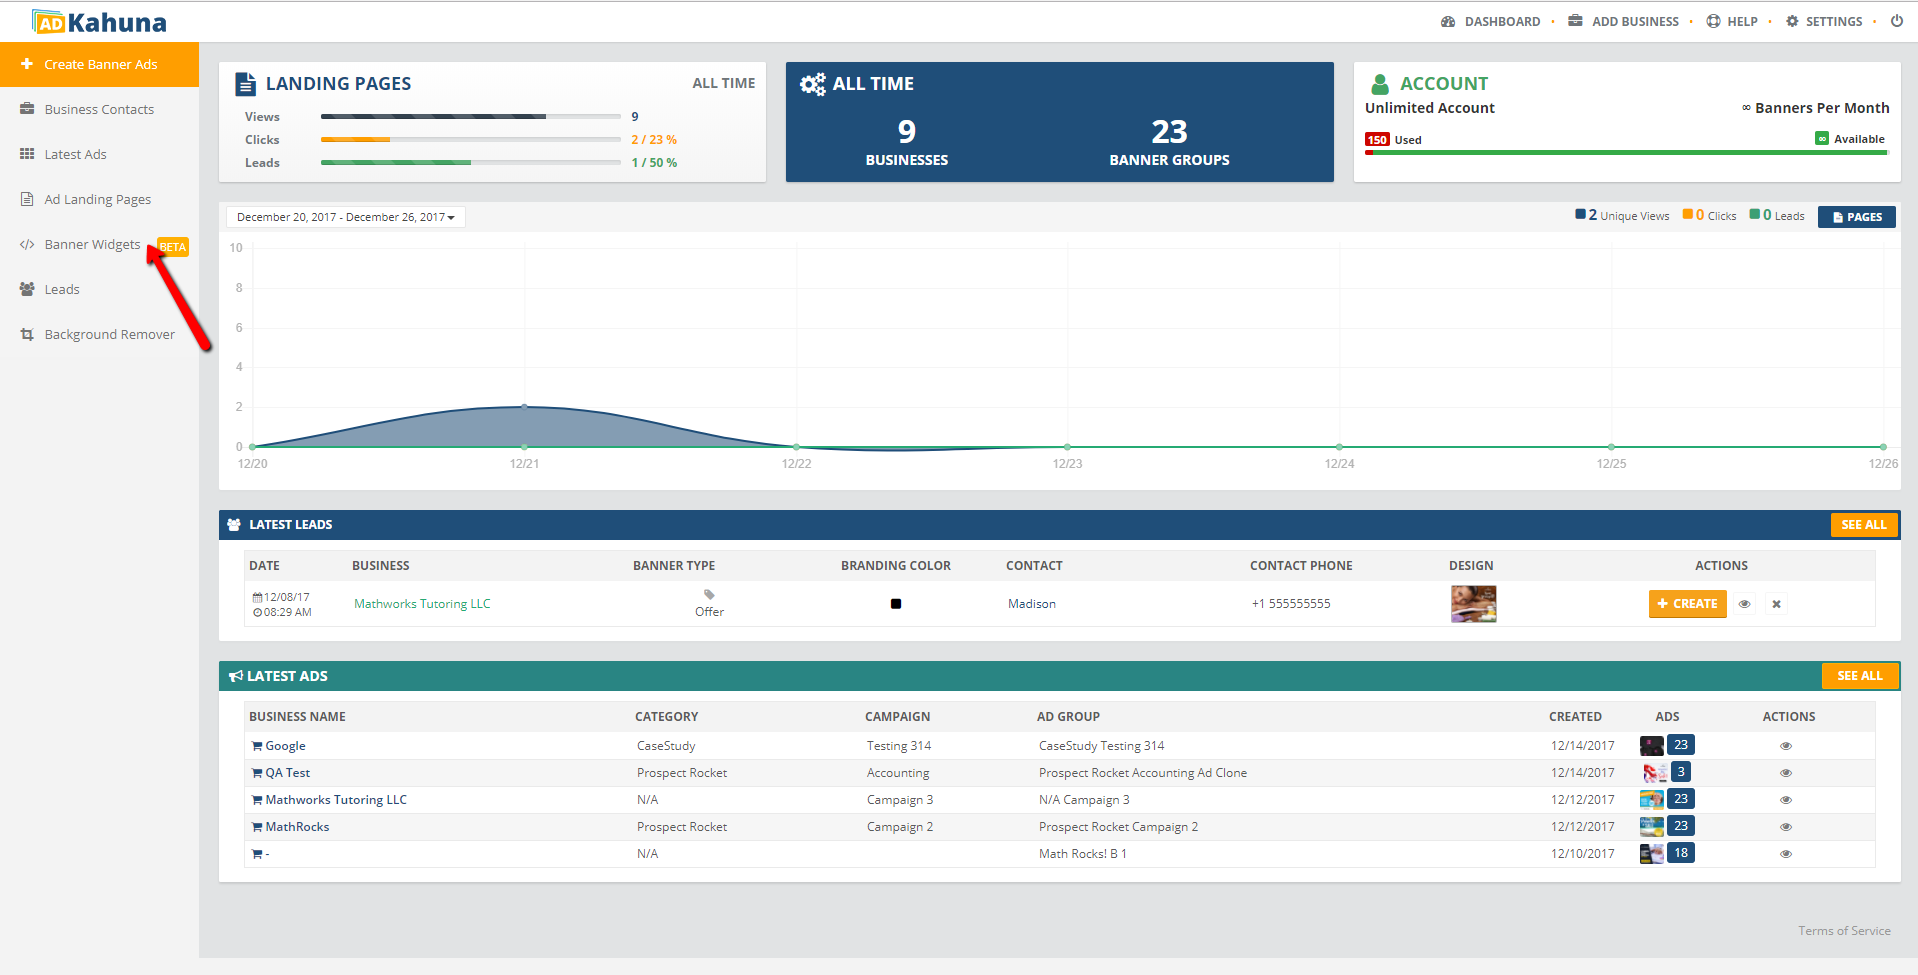
We updated Ad Kahuna to include Banner Widget Automation. Before you can Automate a Banner Widget, you need to have created a Banner Widget, which is explained below. This article will demonstrate how to use the Banner Widget Automation Dashboard. 

How to Create a Banner Widget 

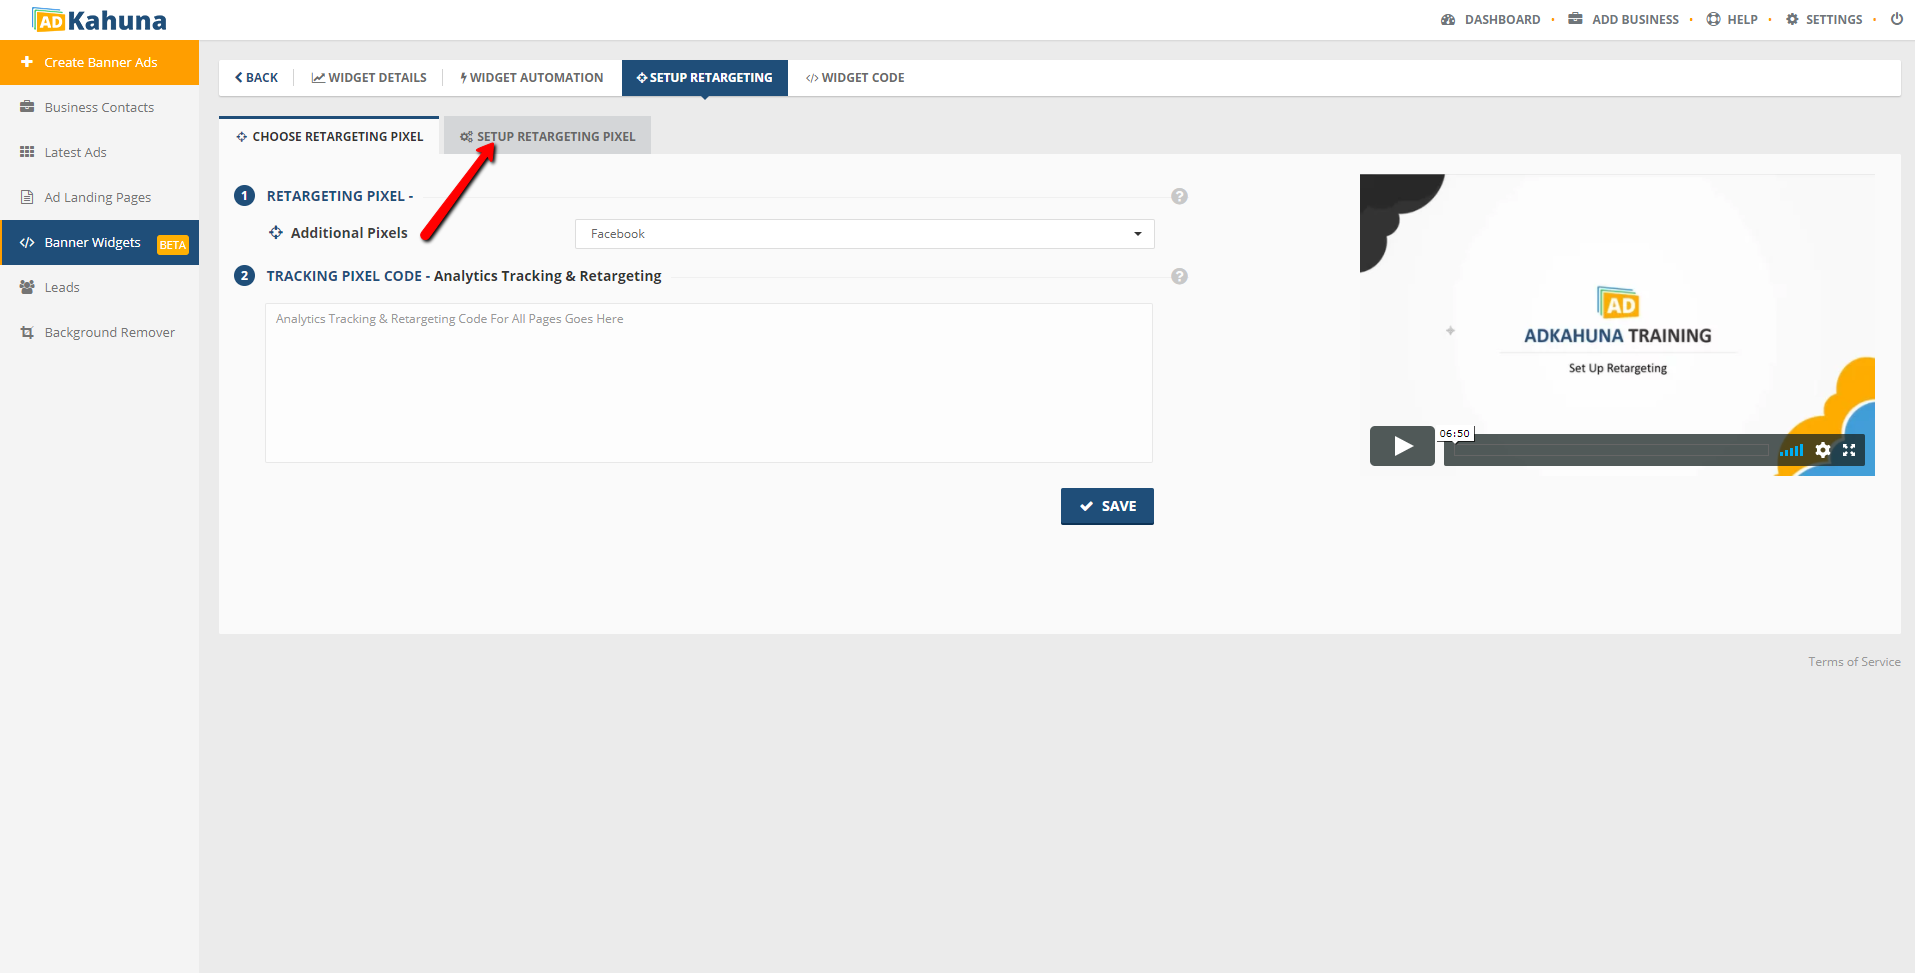
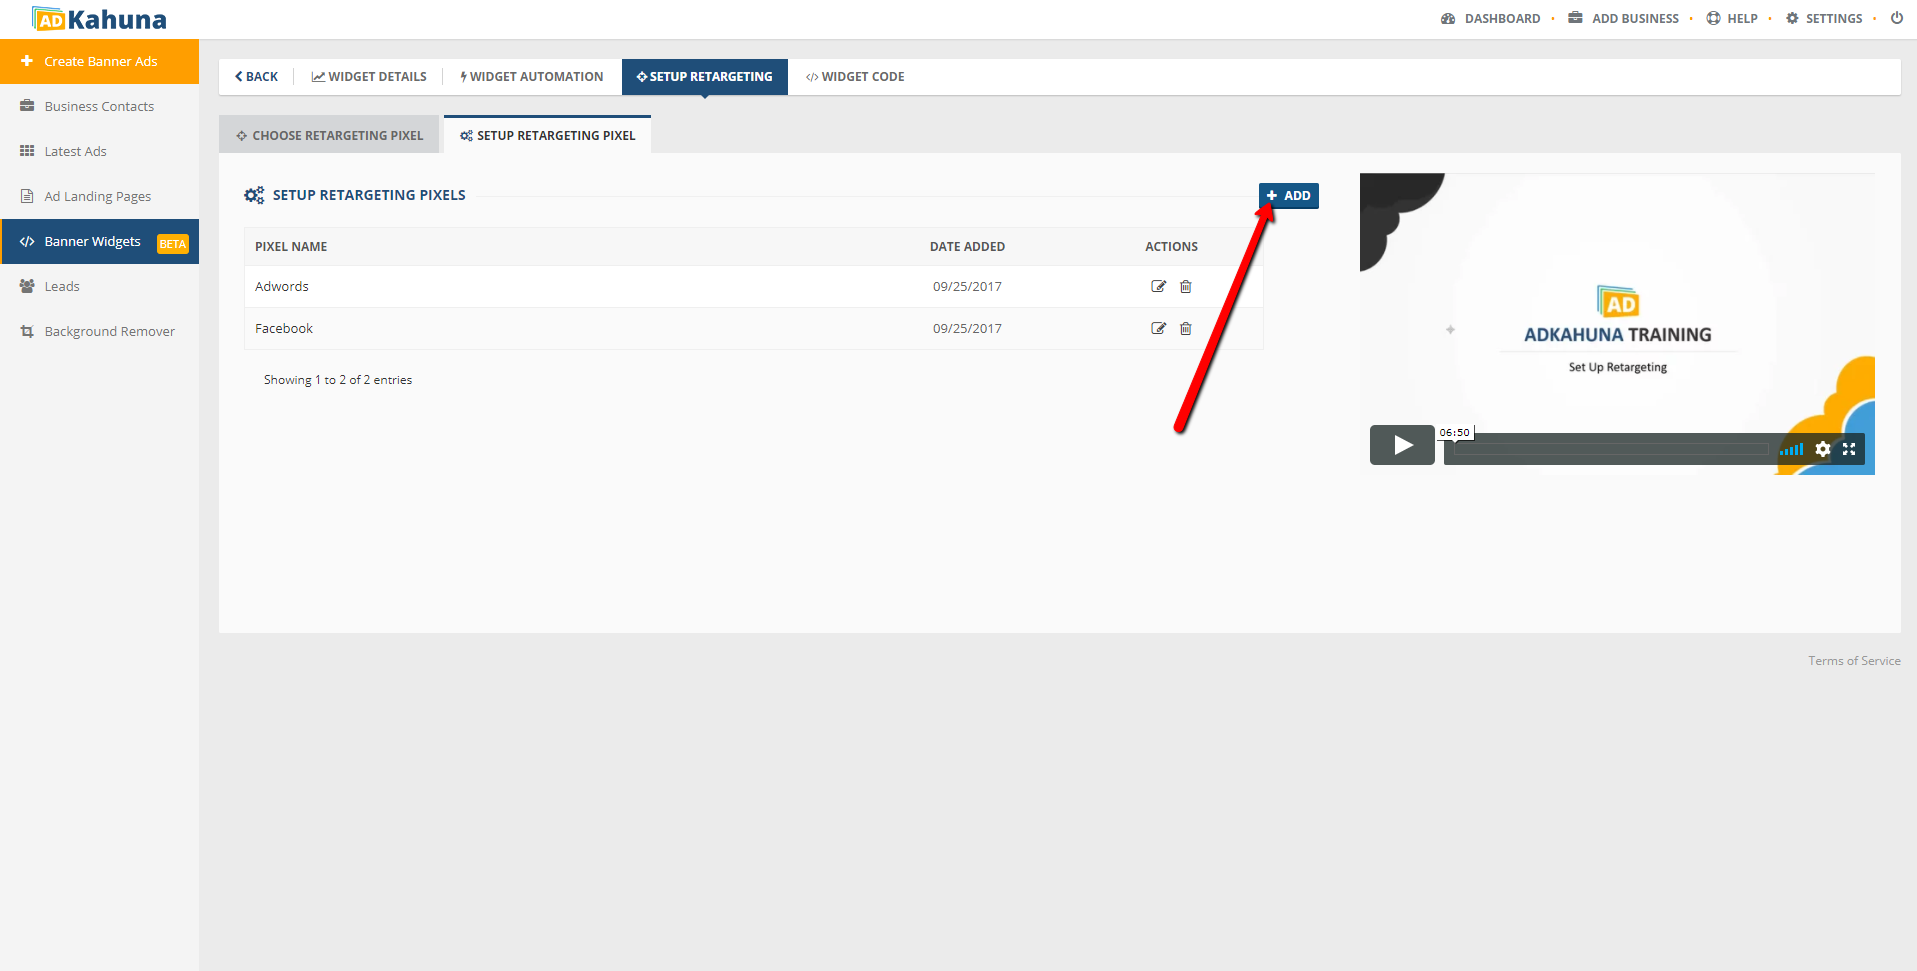
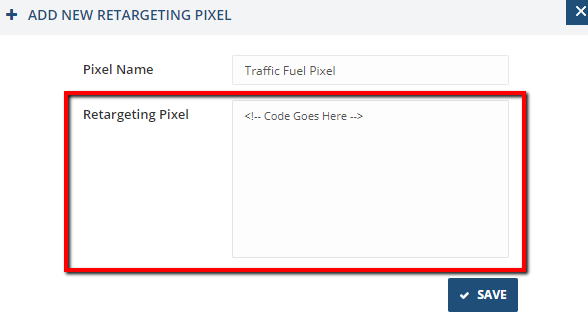
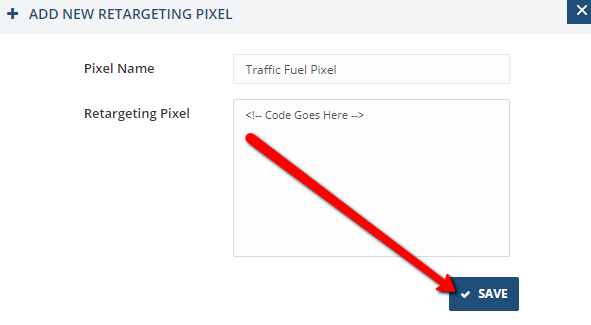
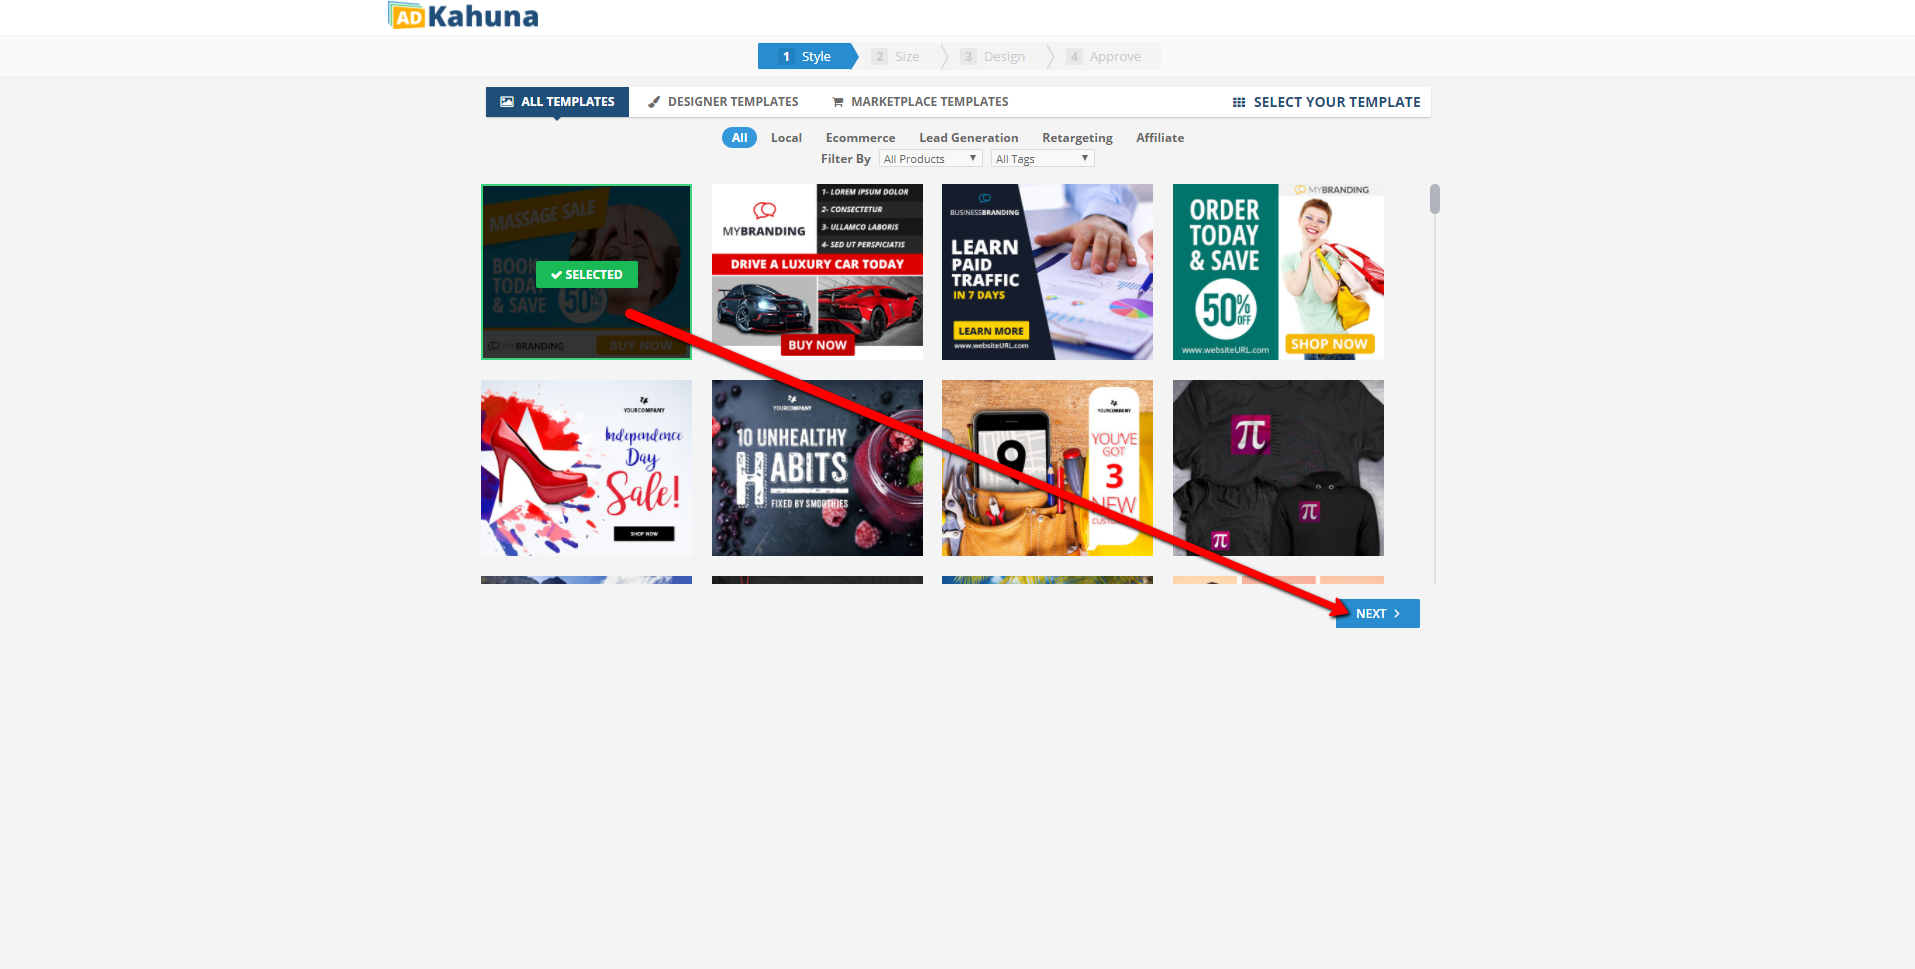
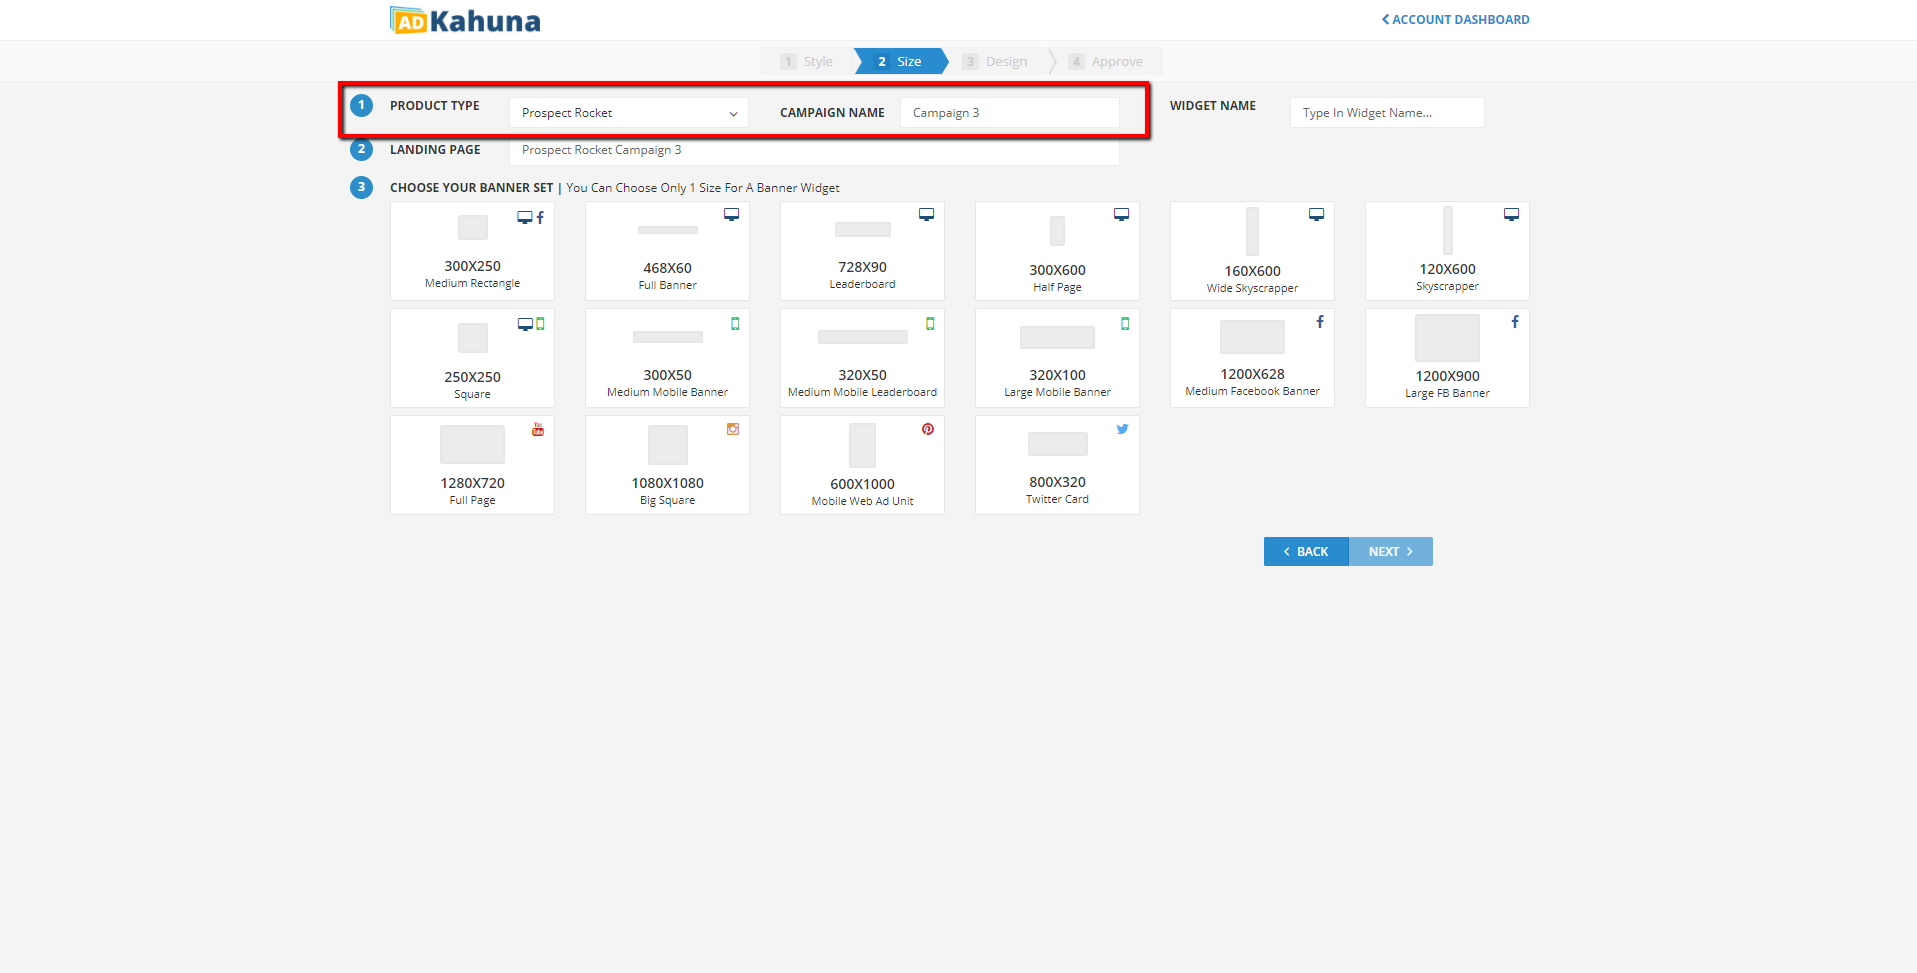
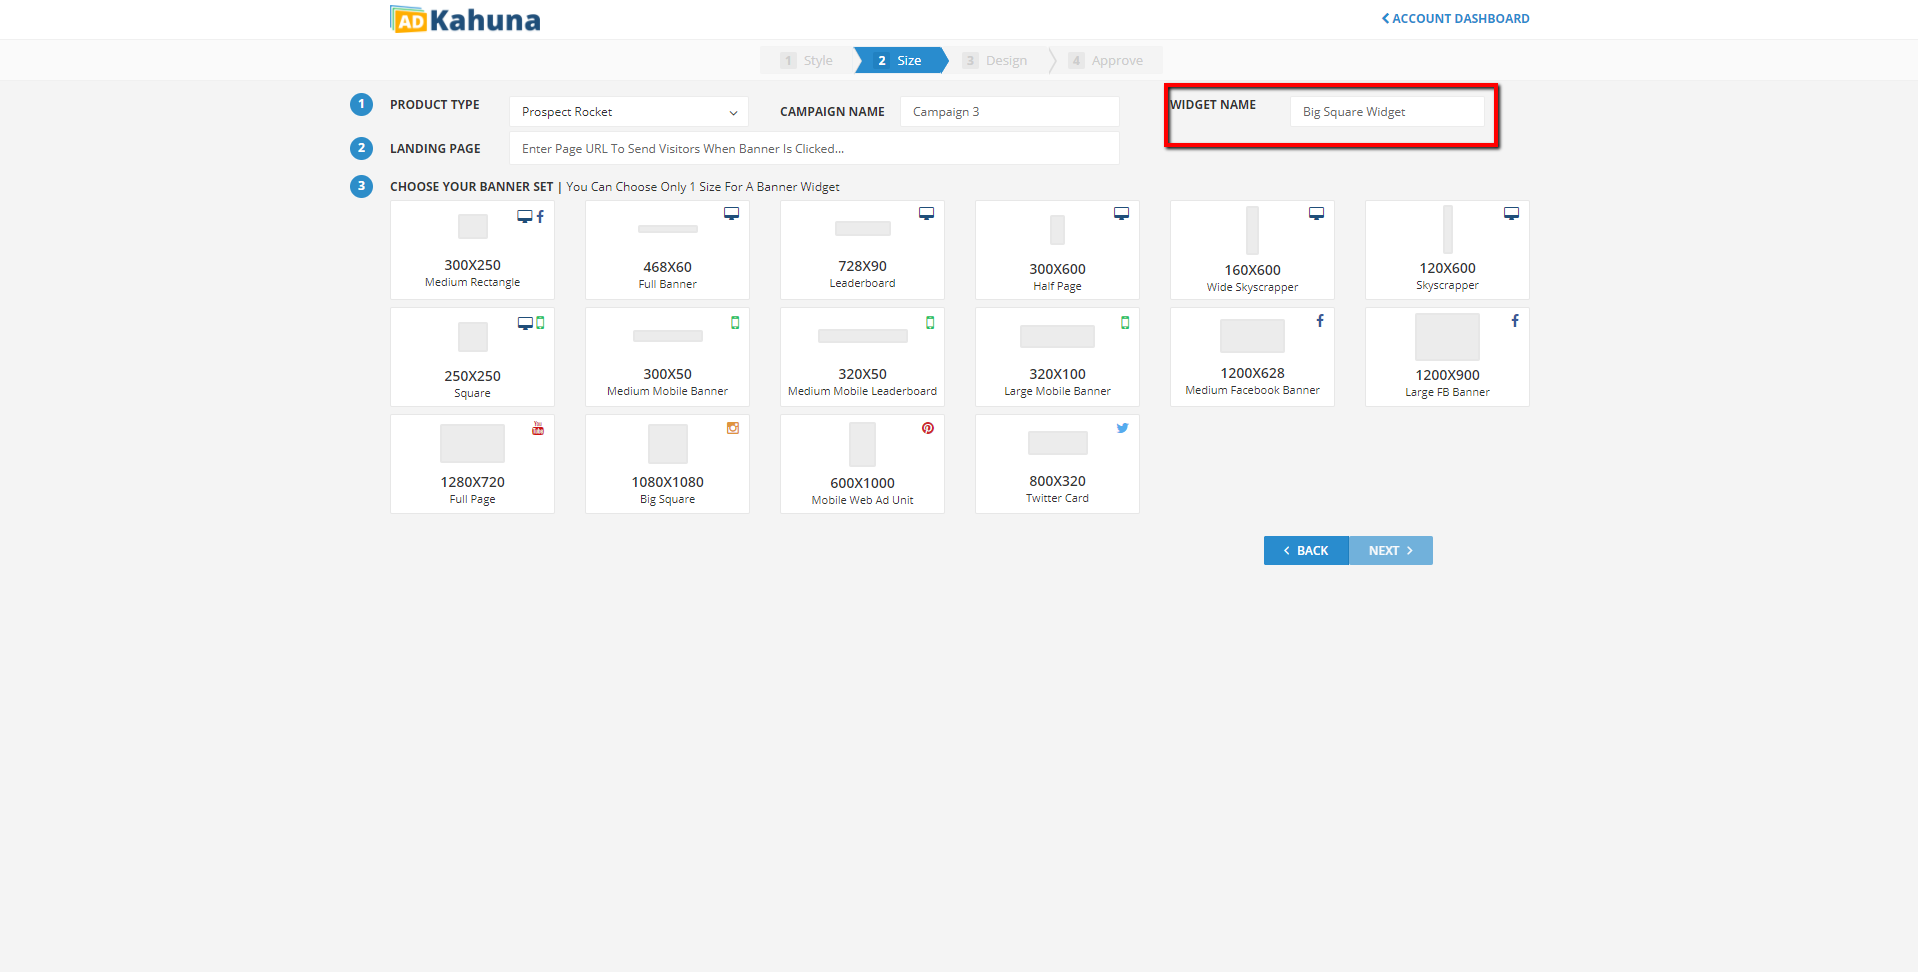
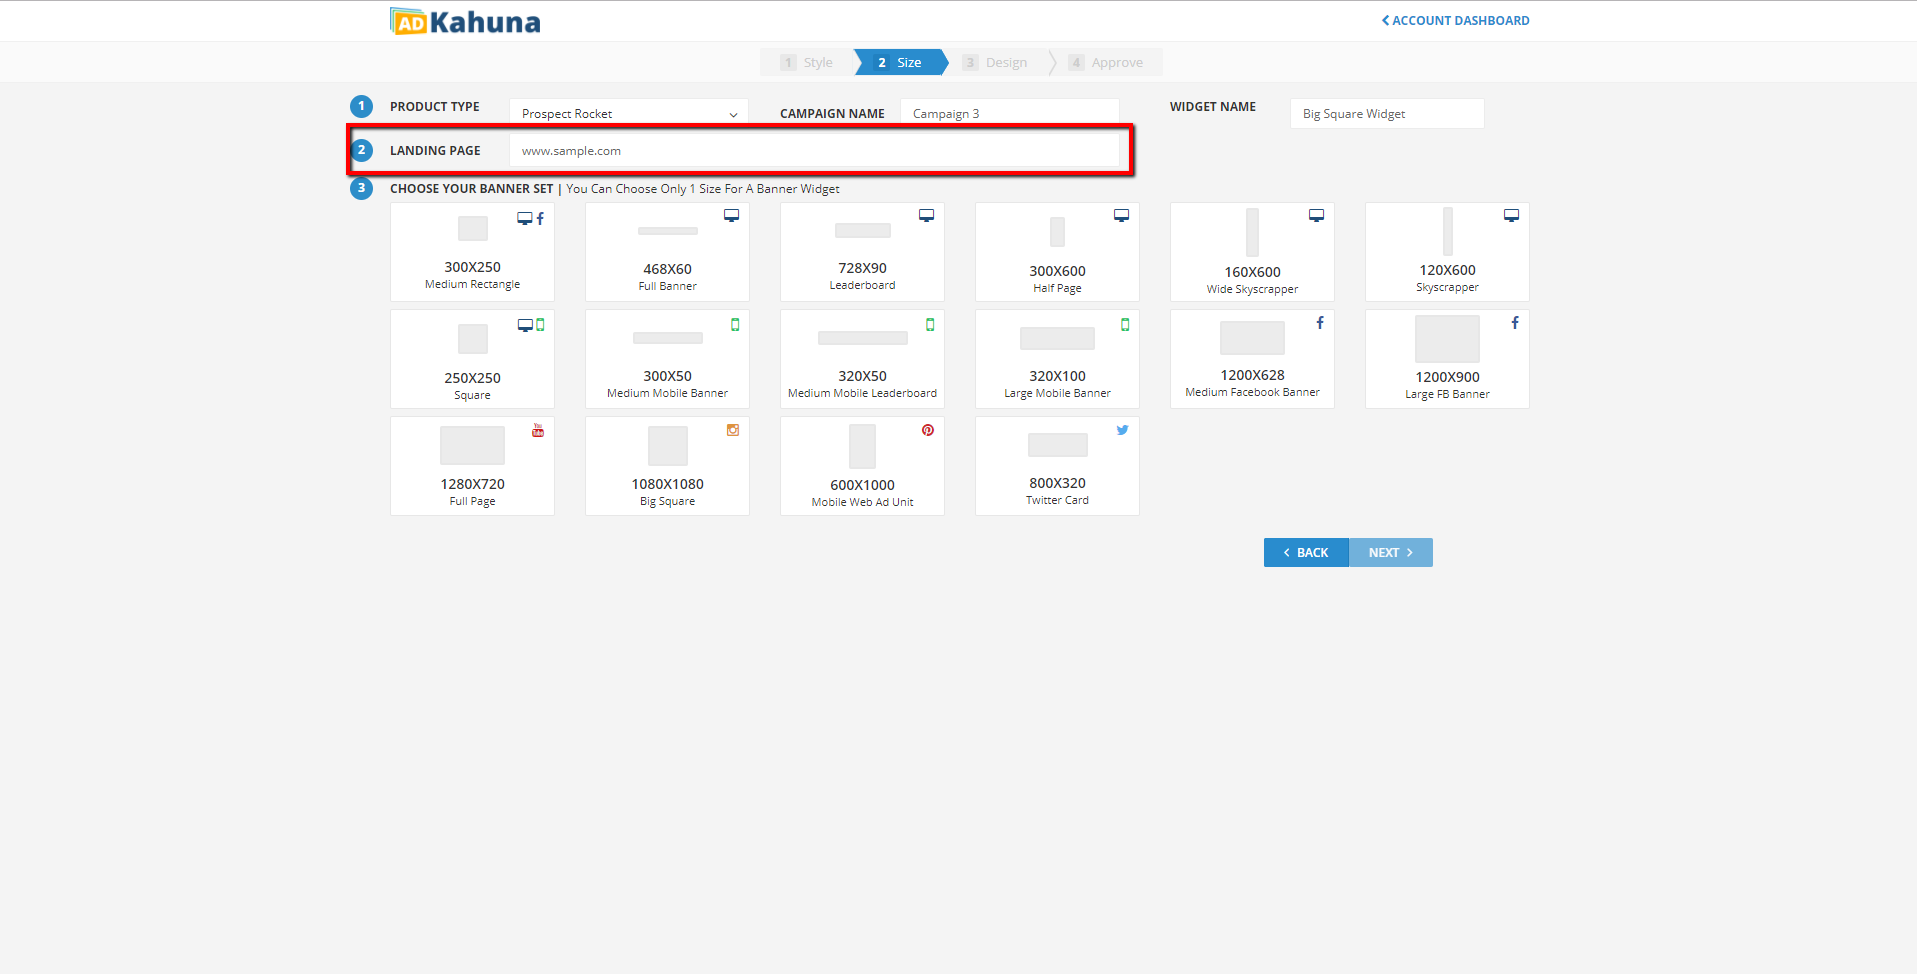
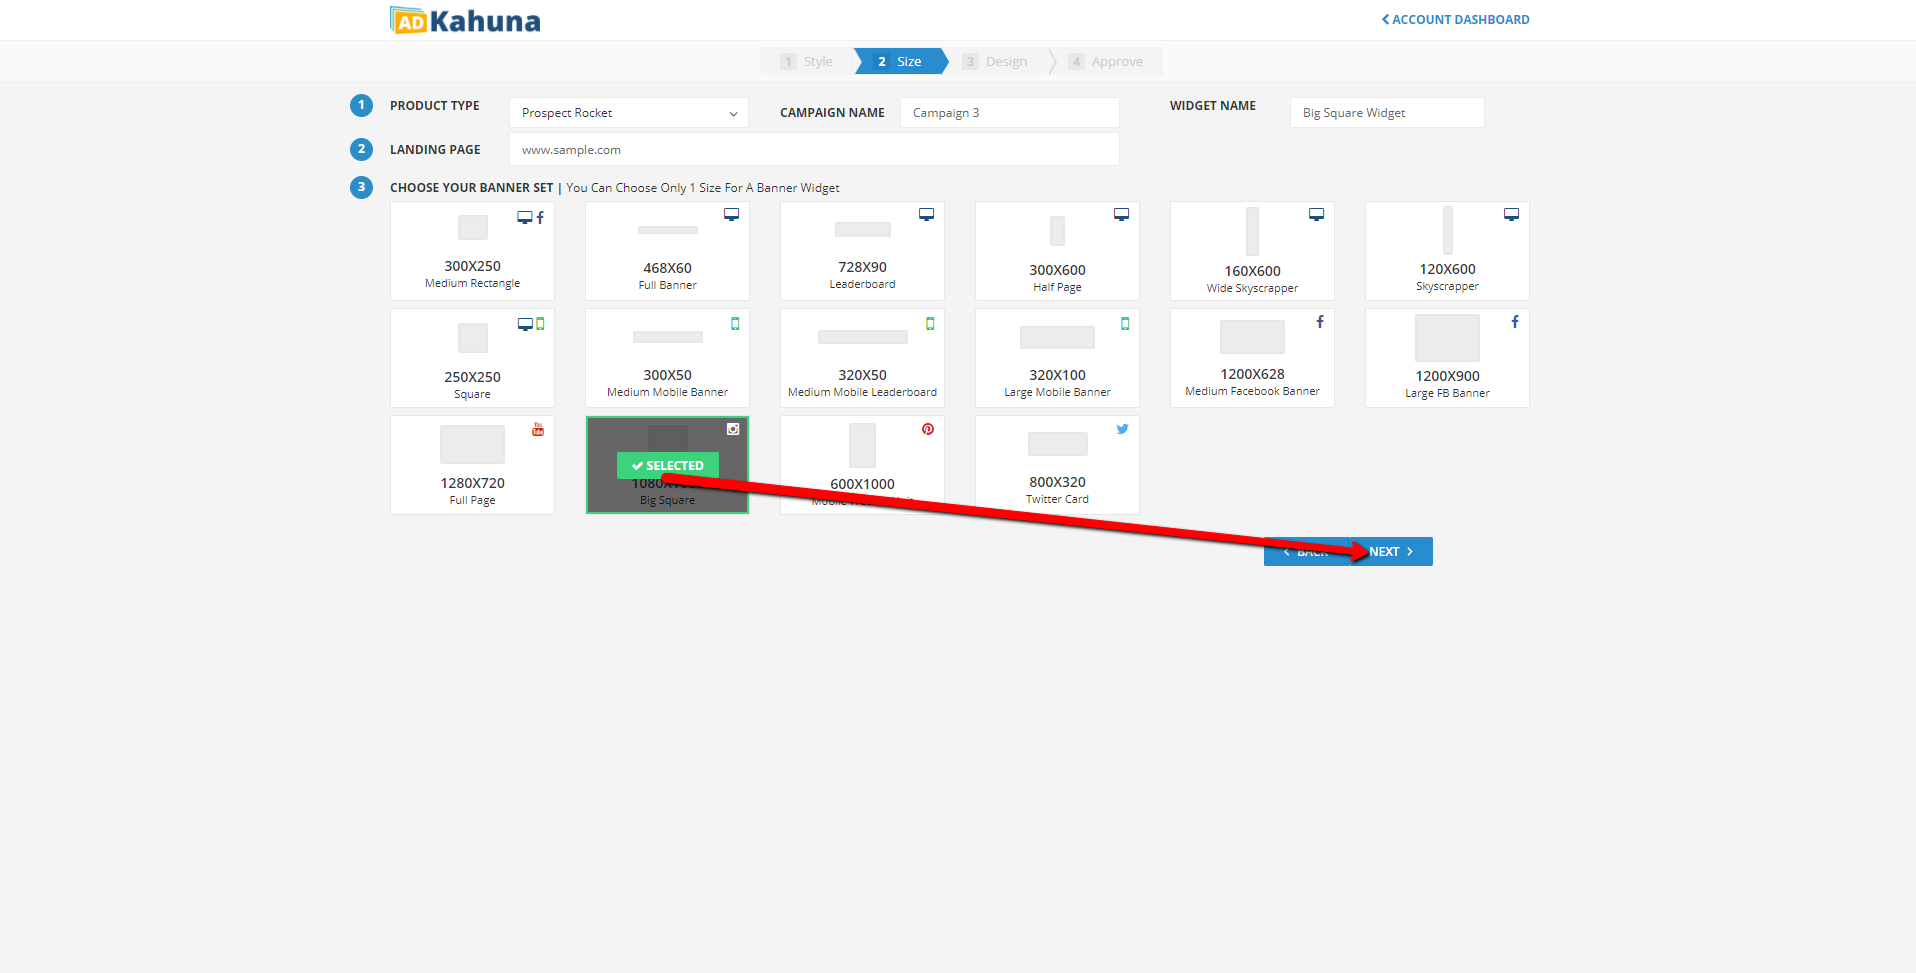
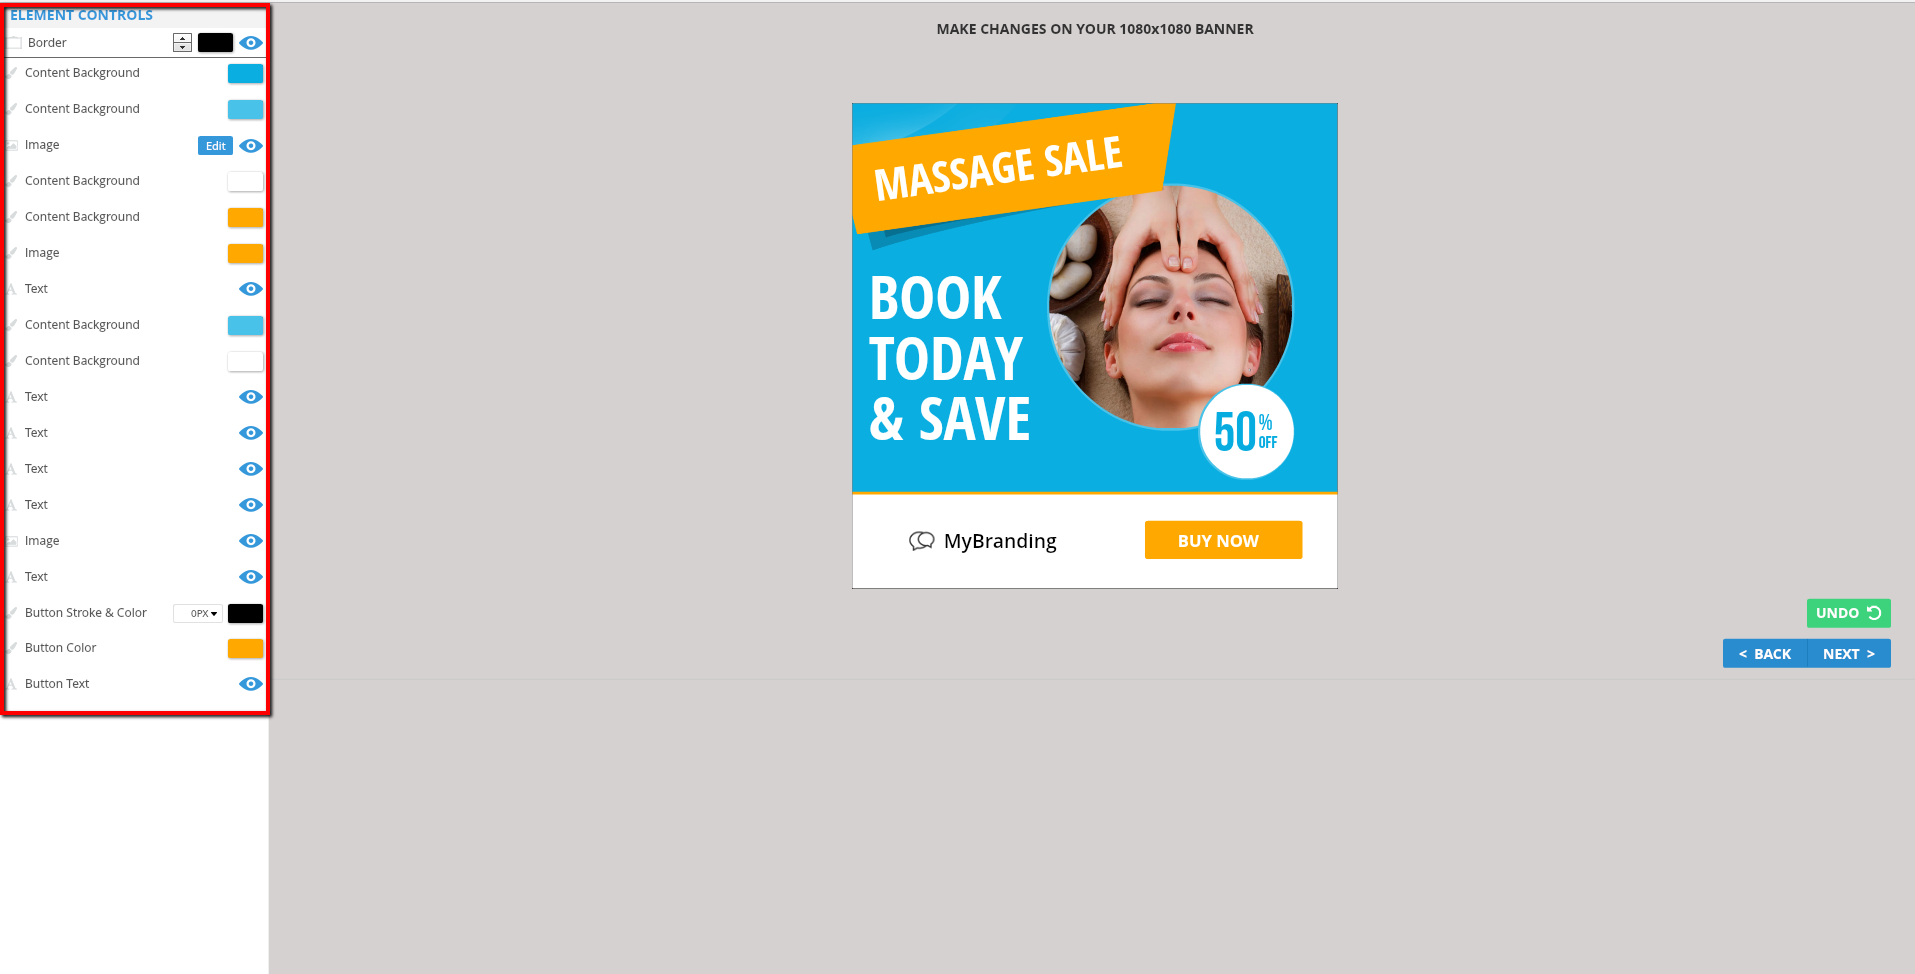
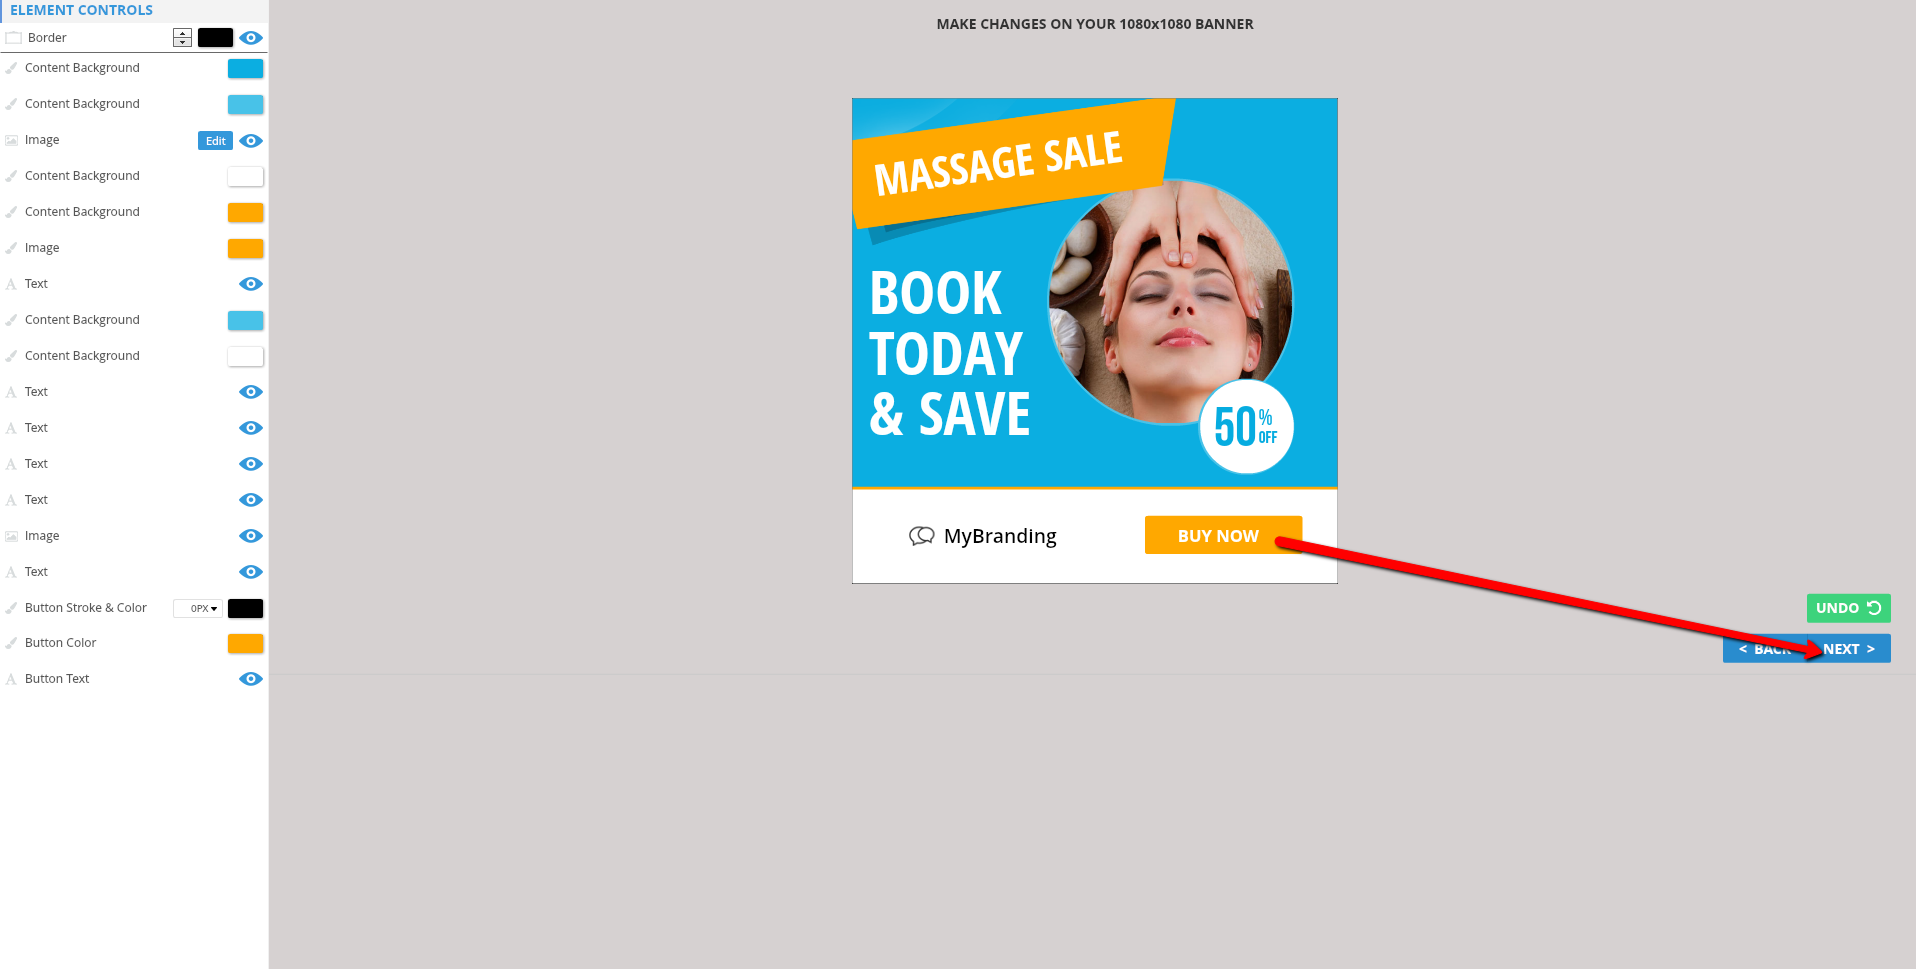
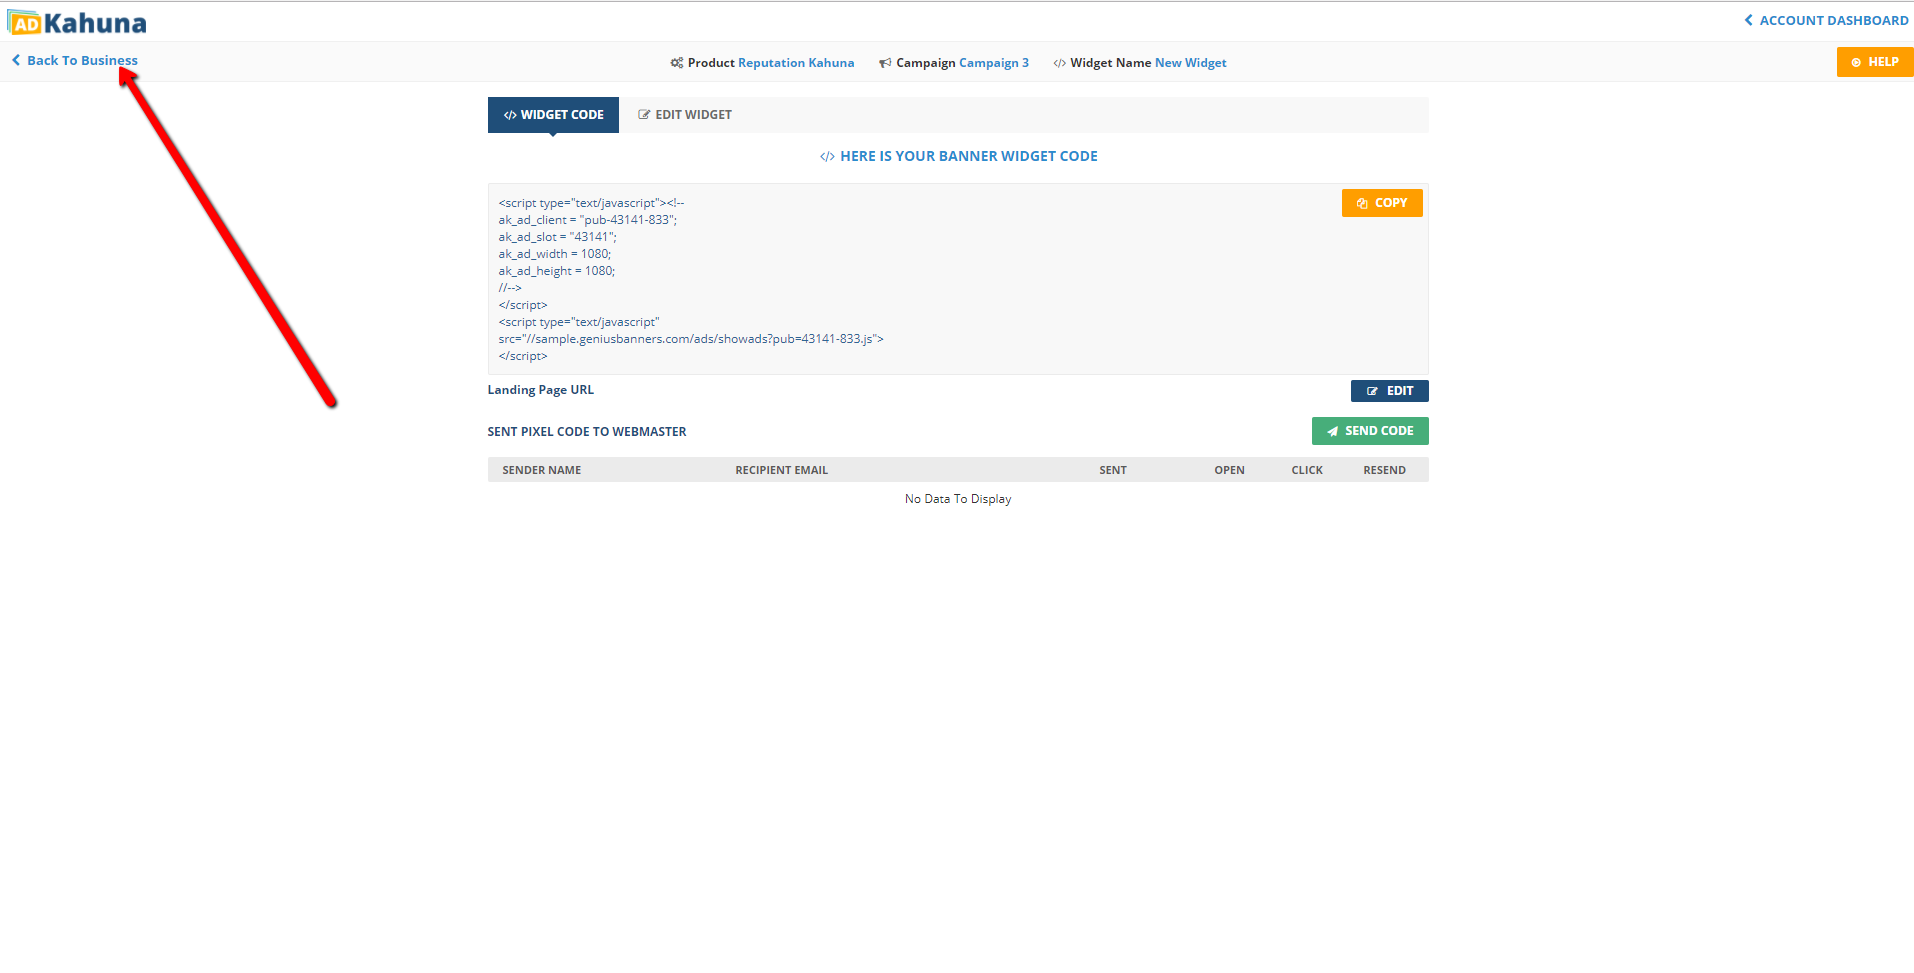
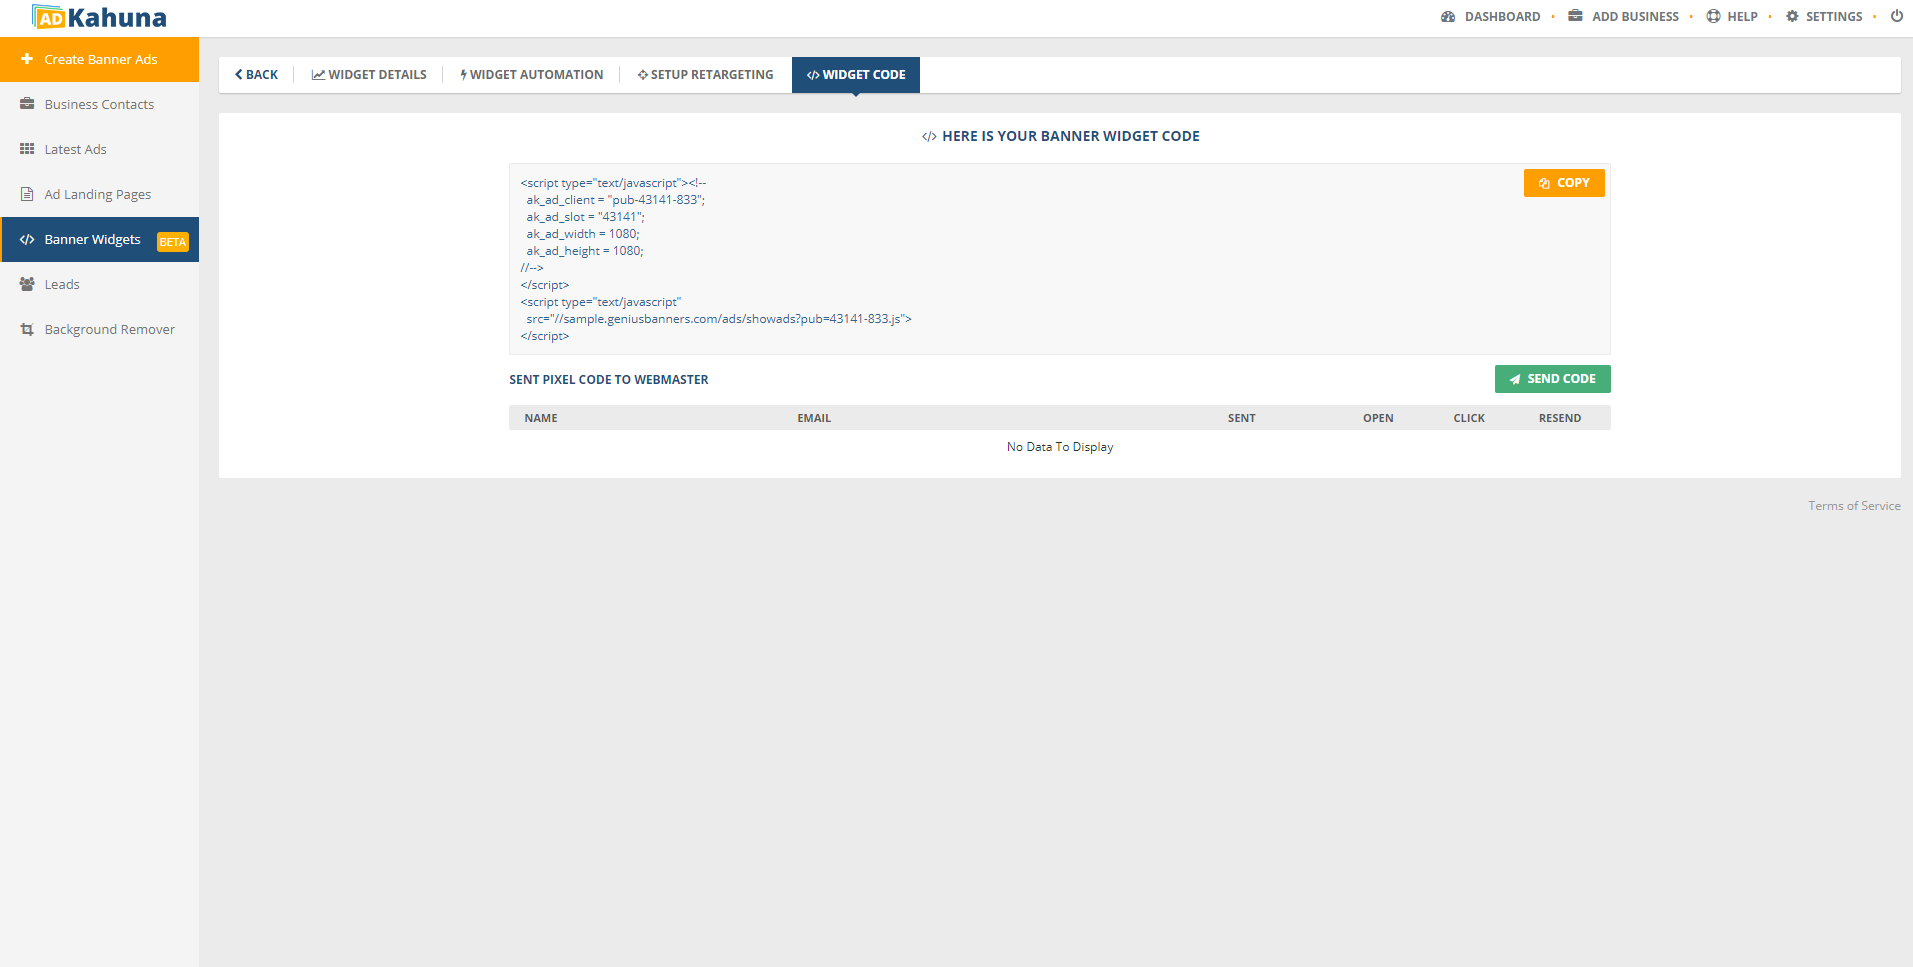
Complete the following steps to create a Banner Widget: 

  1. From the Dashboard, click Banner Widgets.
  2. Click Create New Widget.
  3. Select a business and click Next.
  4.  Select a template and click Next.
  5.  Select a Product Type and Campaign Type.
     
  6. Type the Widget's Name.
  7. Type a Landing Page's URL.
  8. Select a size for your Banner Set and click Next.
  9. Customize your Banner Widget using each of the Element Controls.
  10. Click Next.
  11. Click Copy to copy your Banner Widget's code. Click Edit to edit your Banner Widget's Landing Page URL. Click Send Code to send the pixel code in an email. Click Back to Business to return to the Automation Dashboard.

How to Use the Banner Widget Automation Dashboard

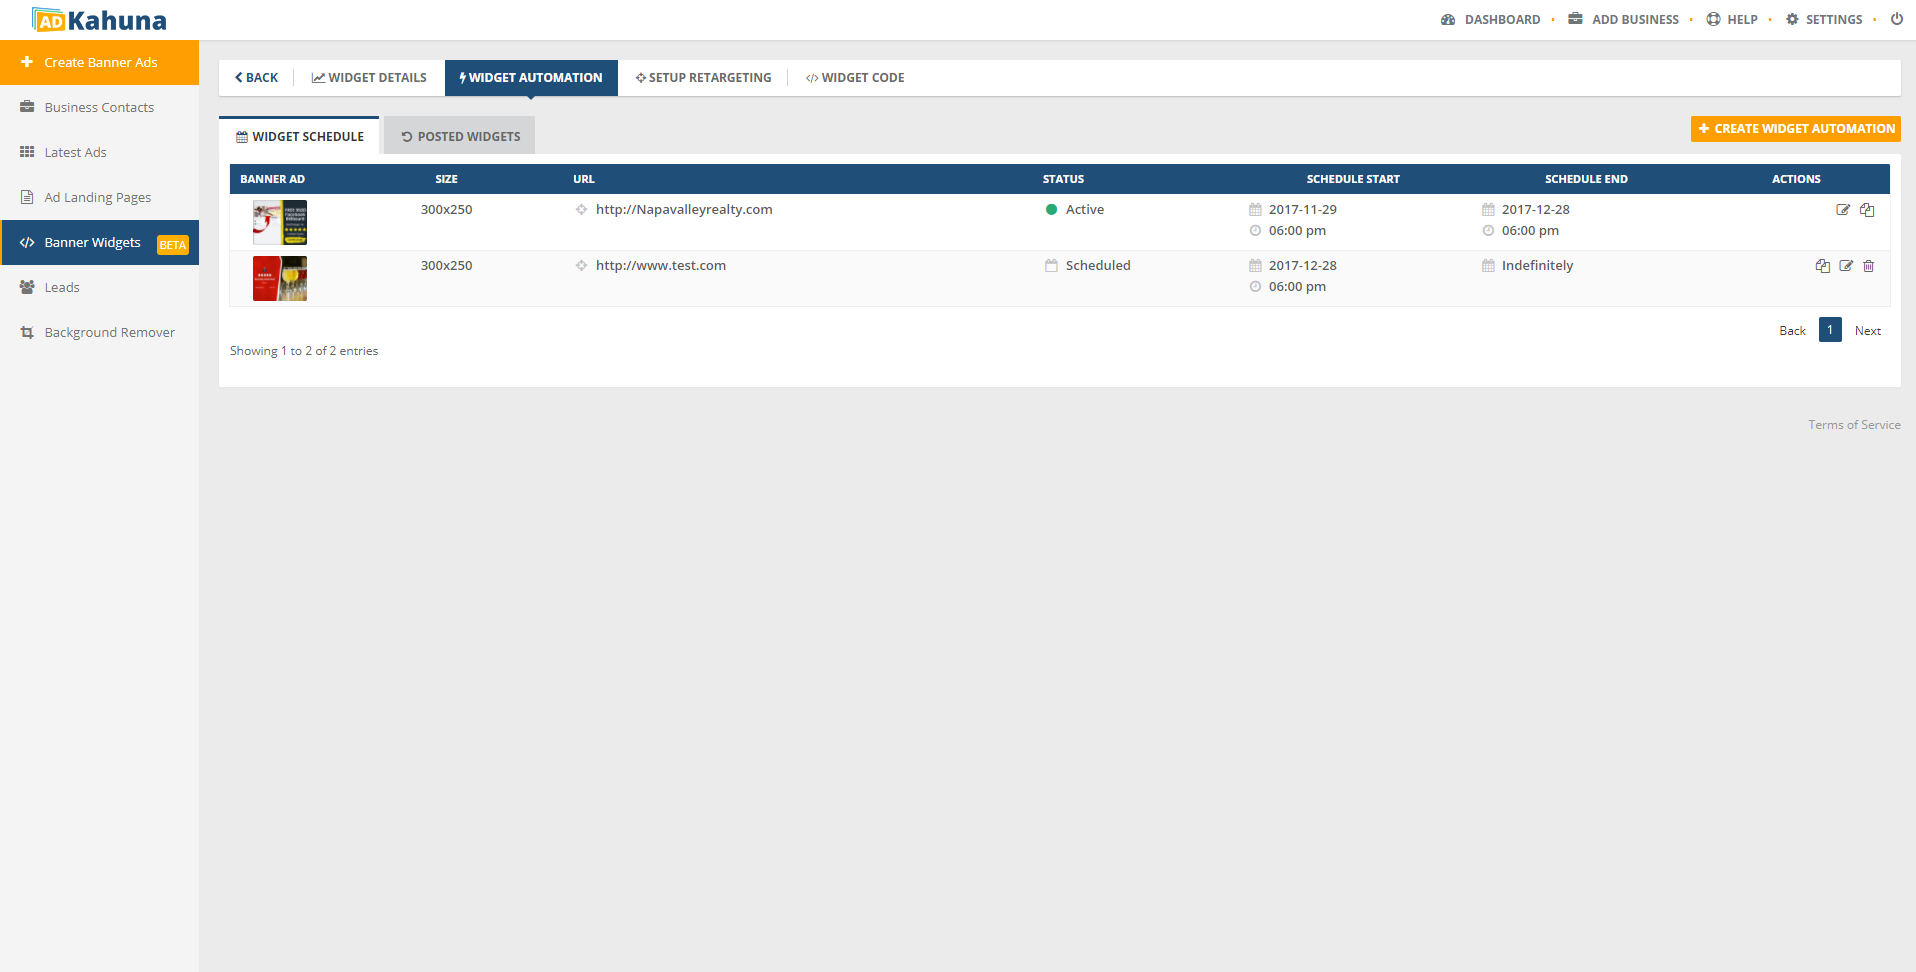
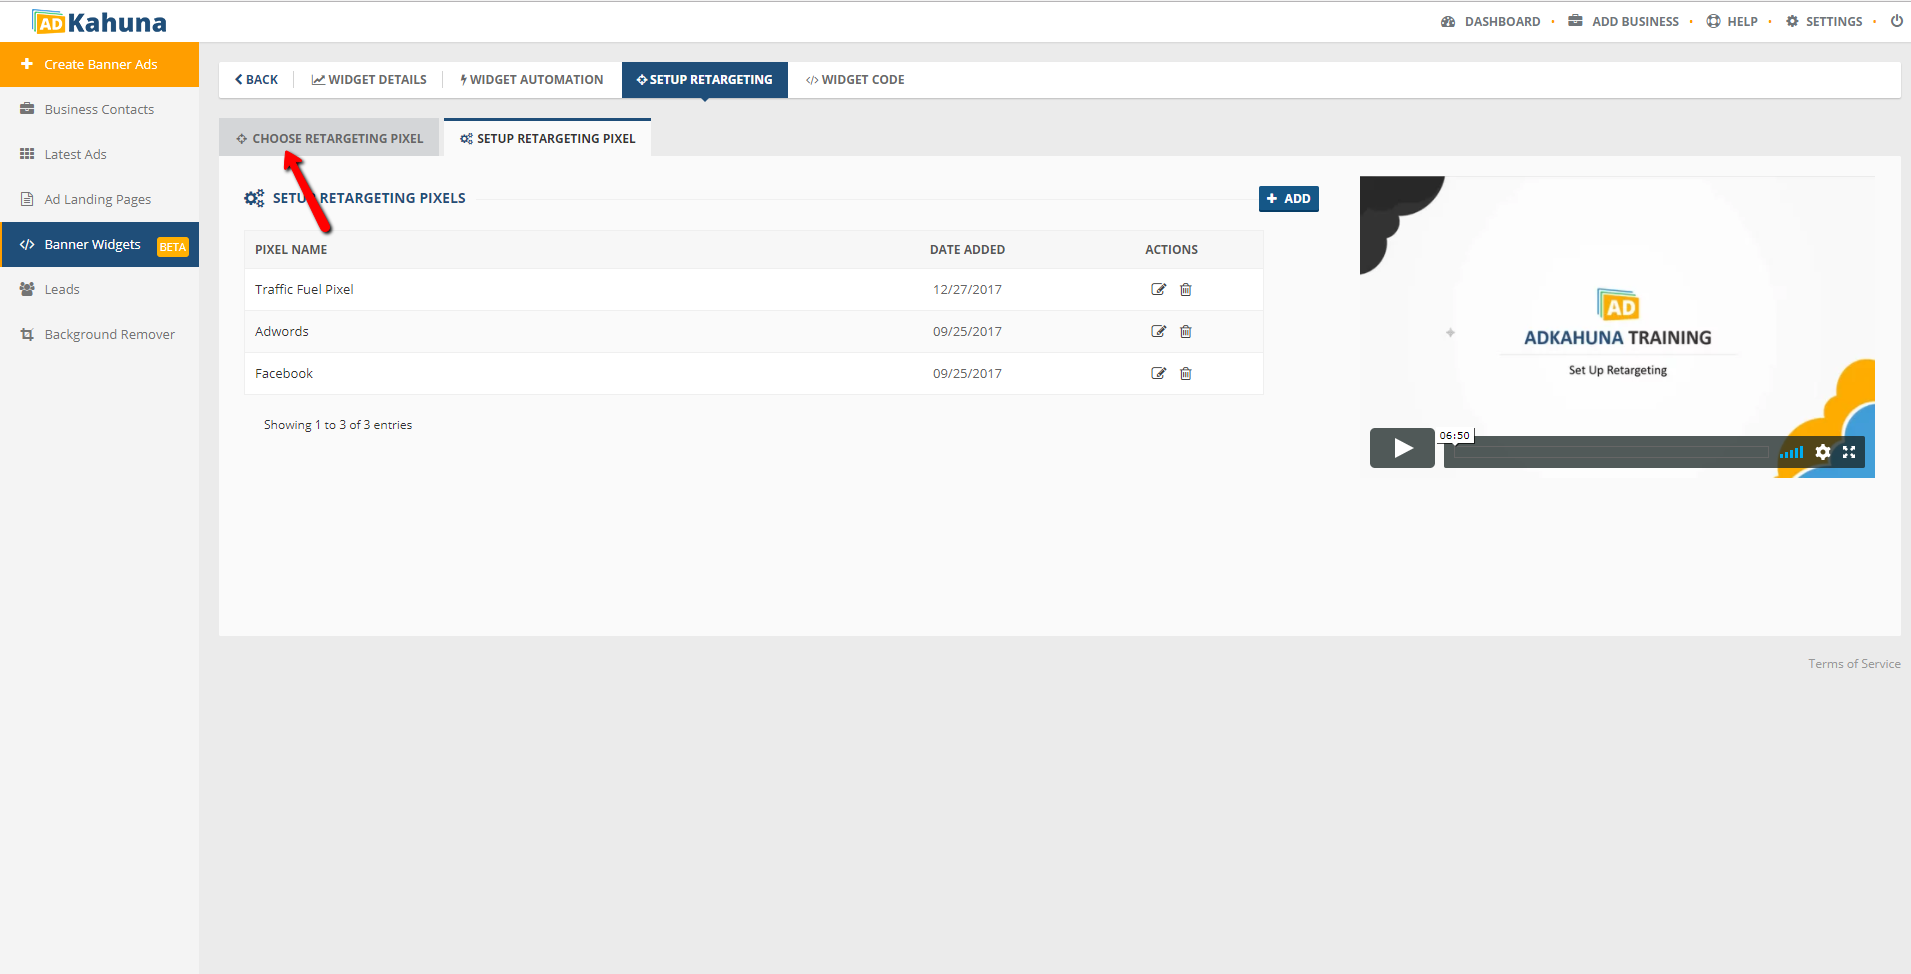
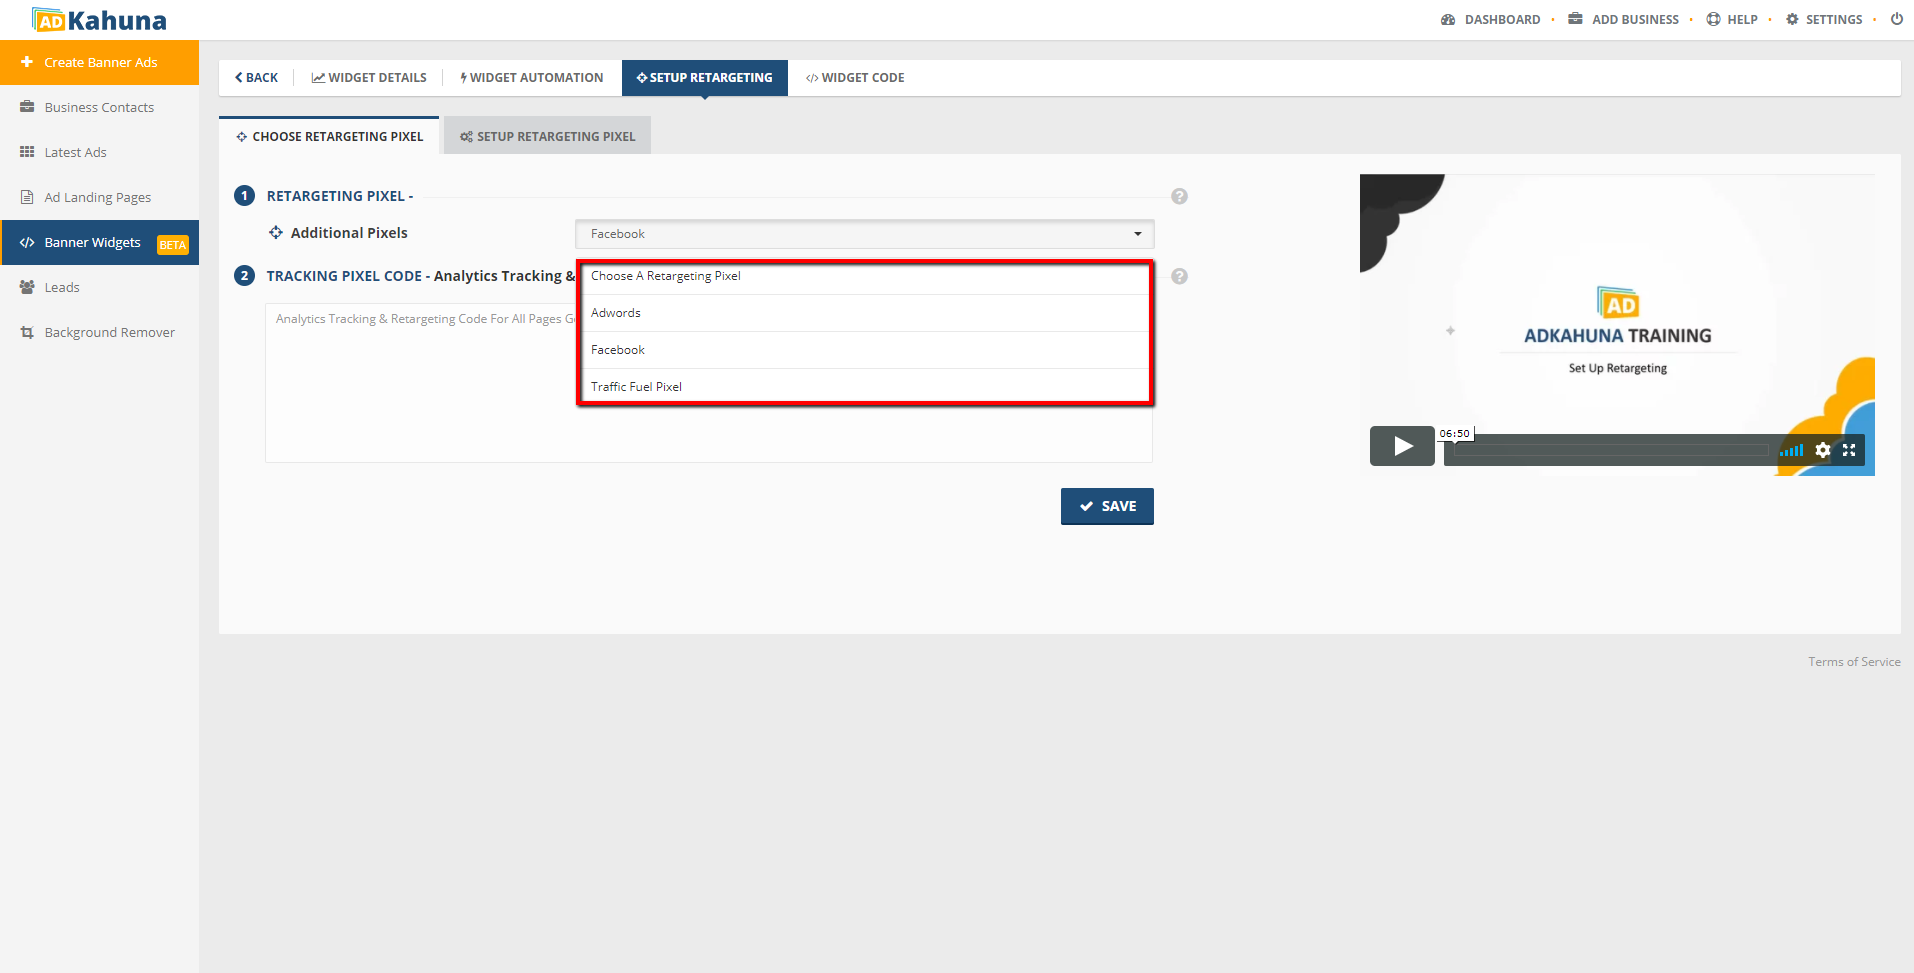
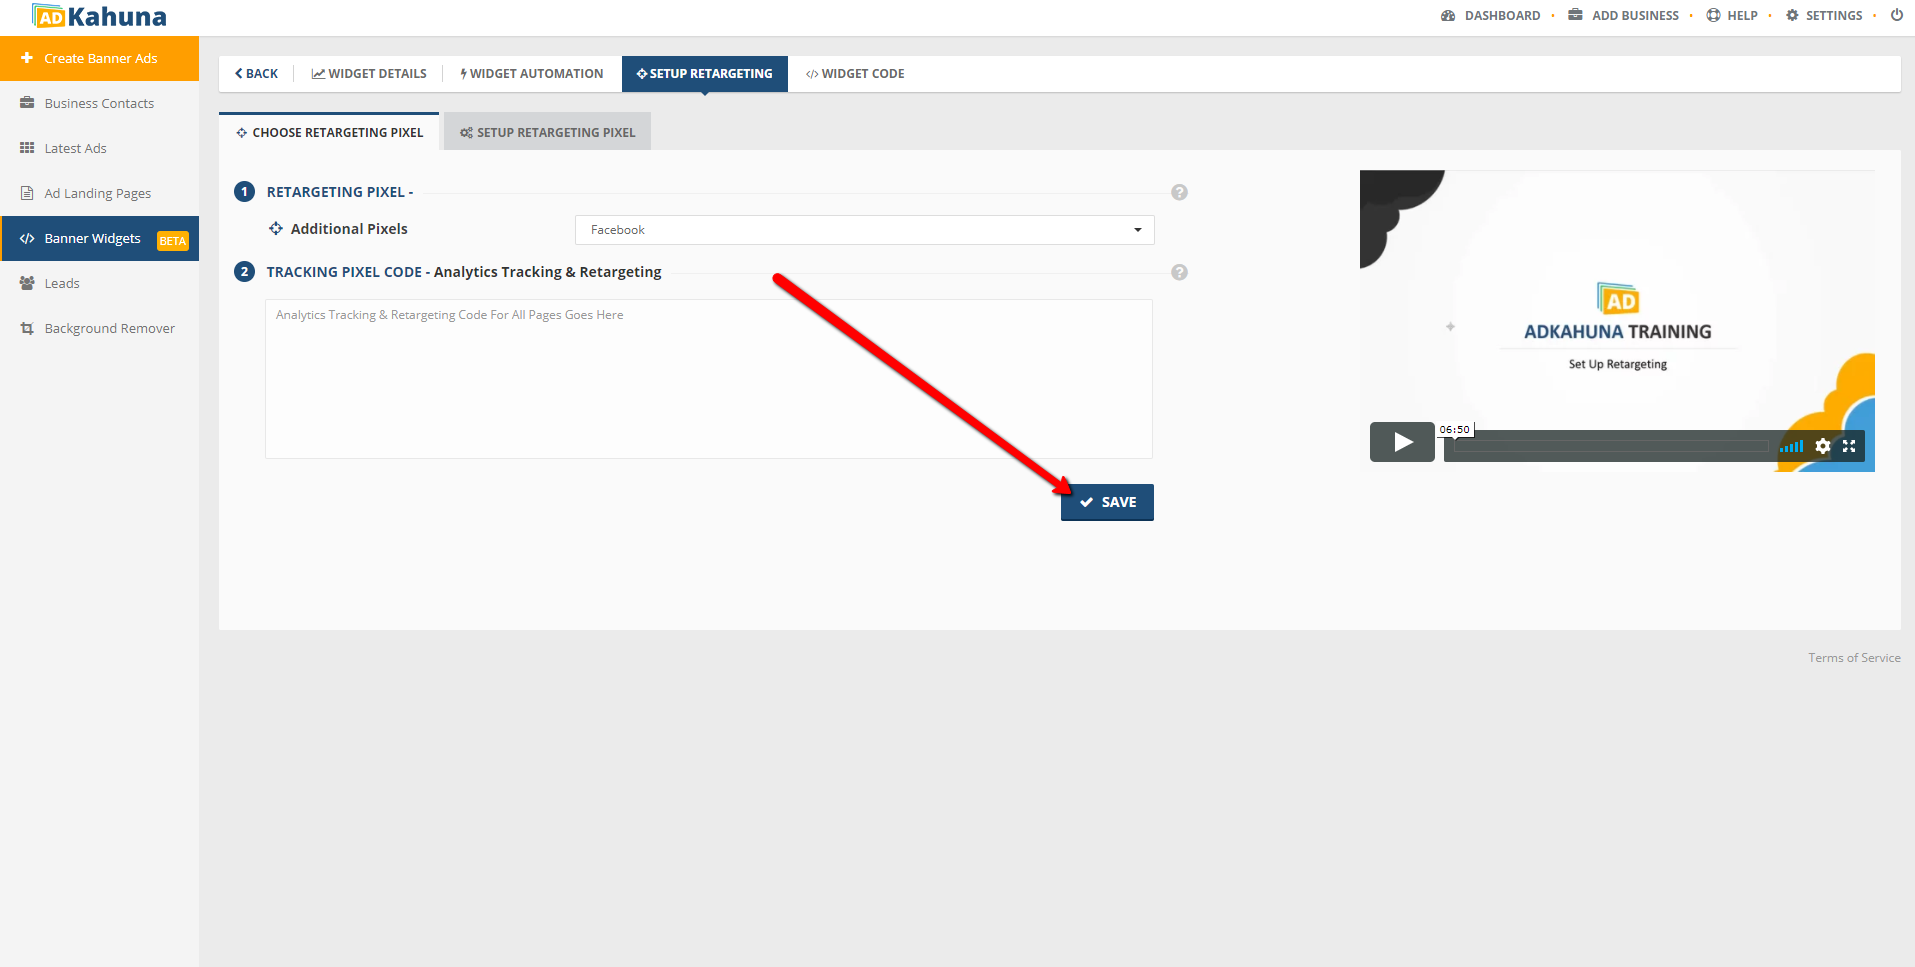
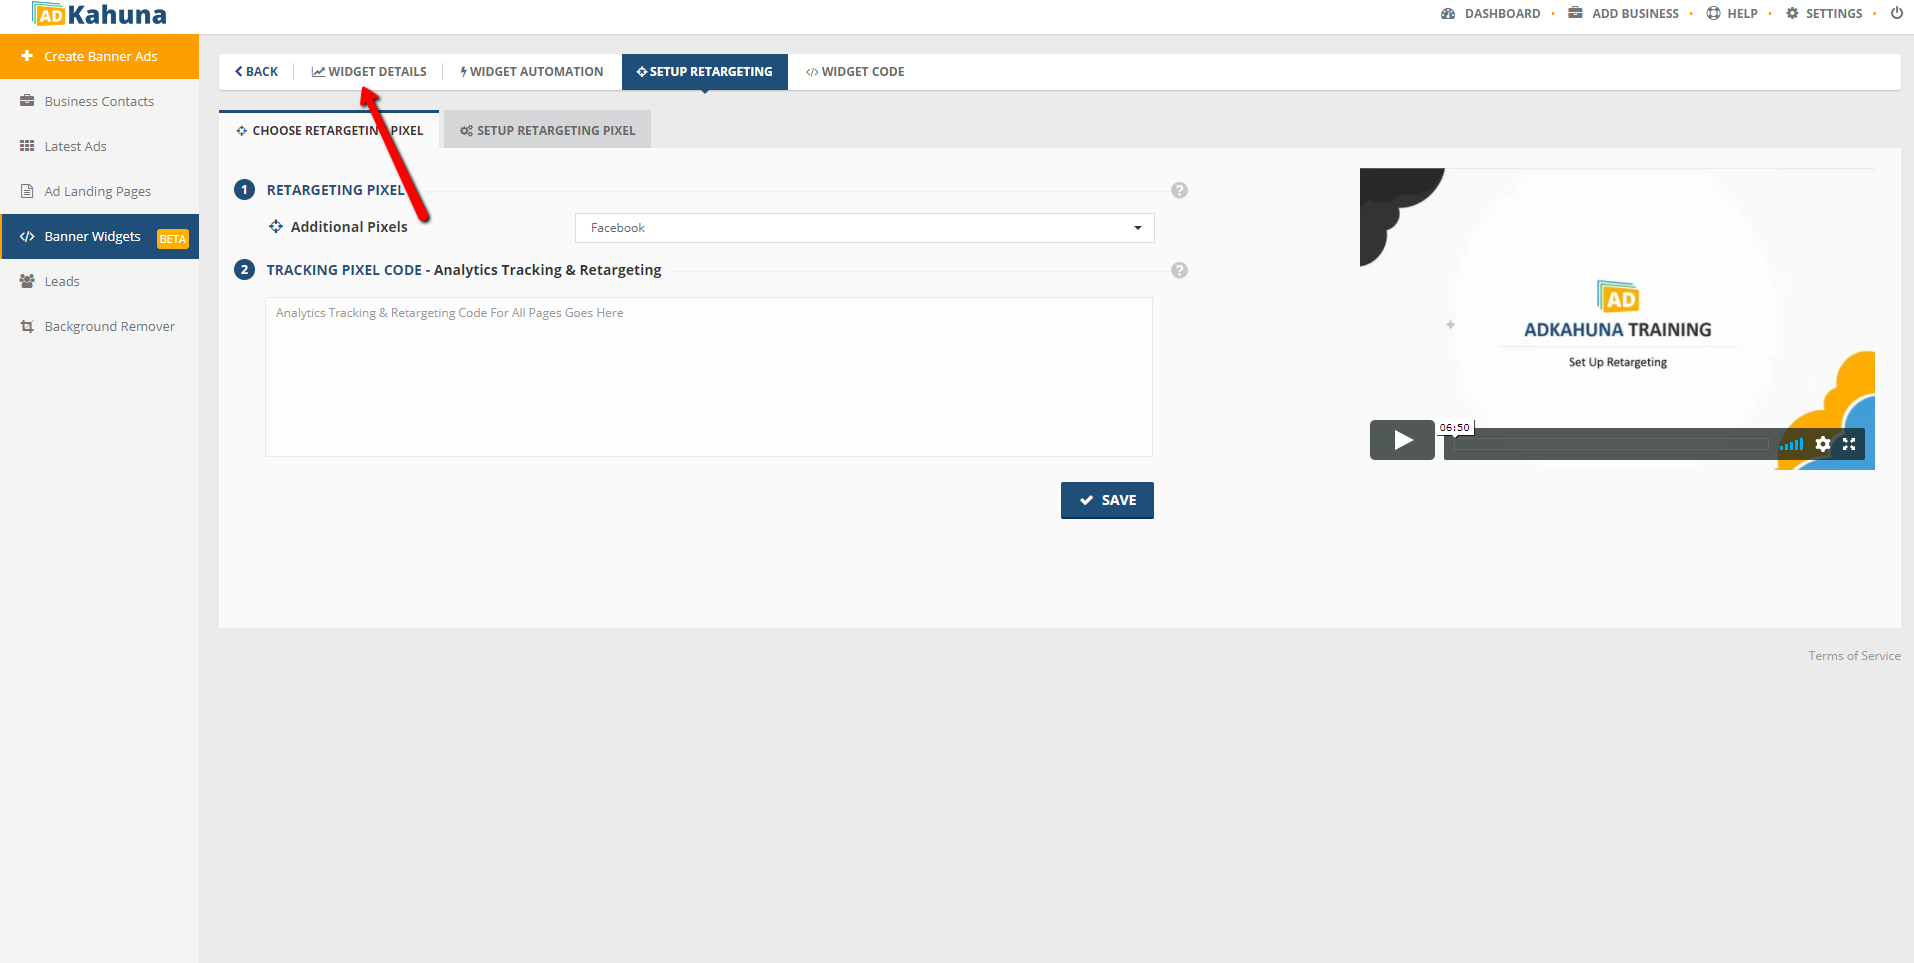
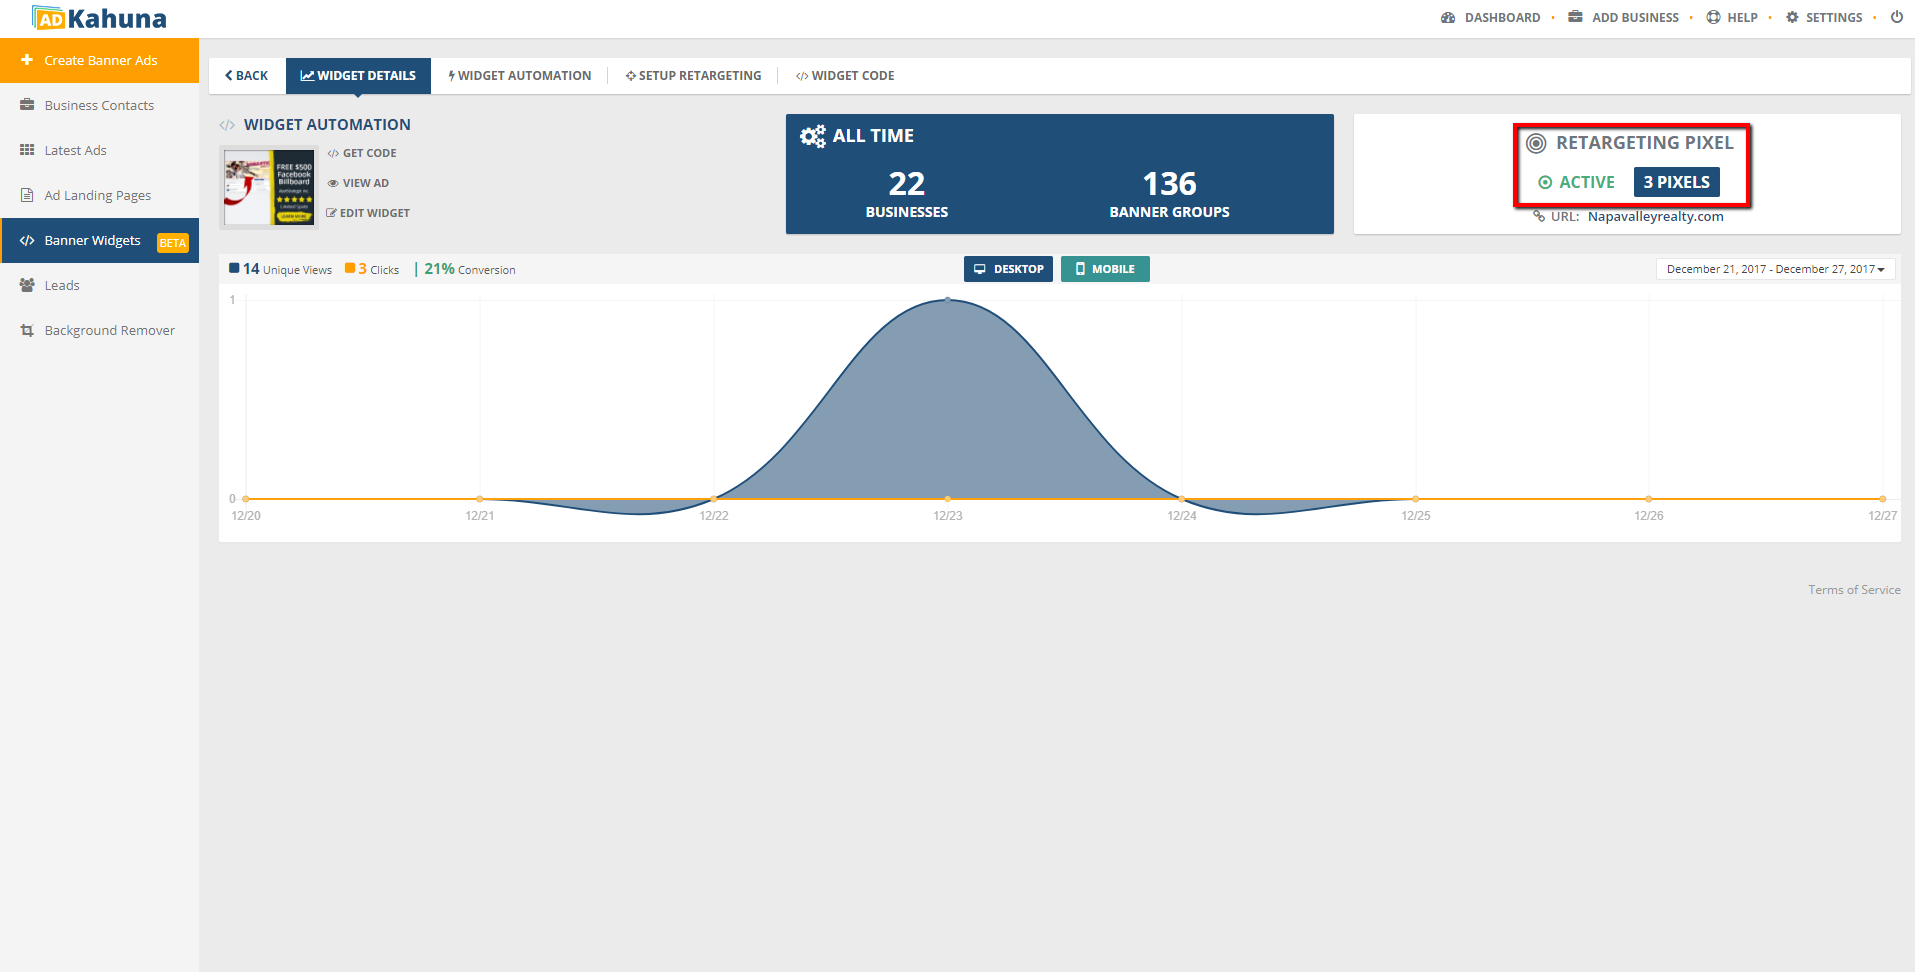
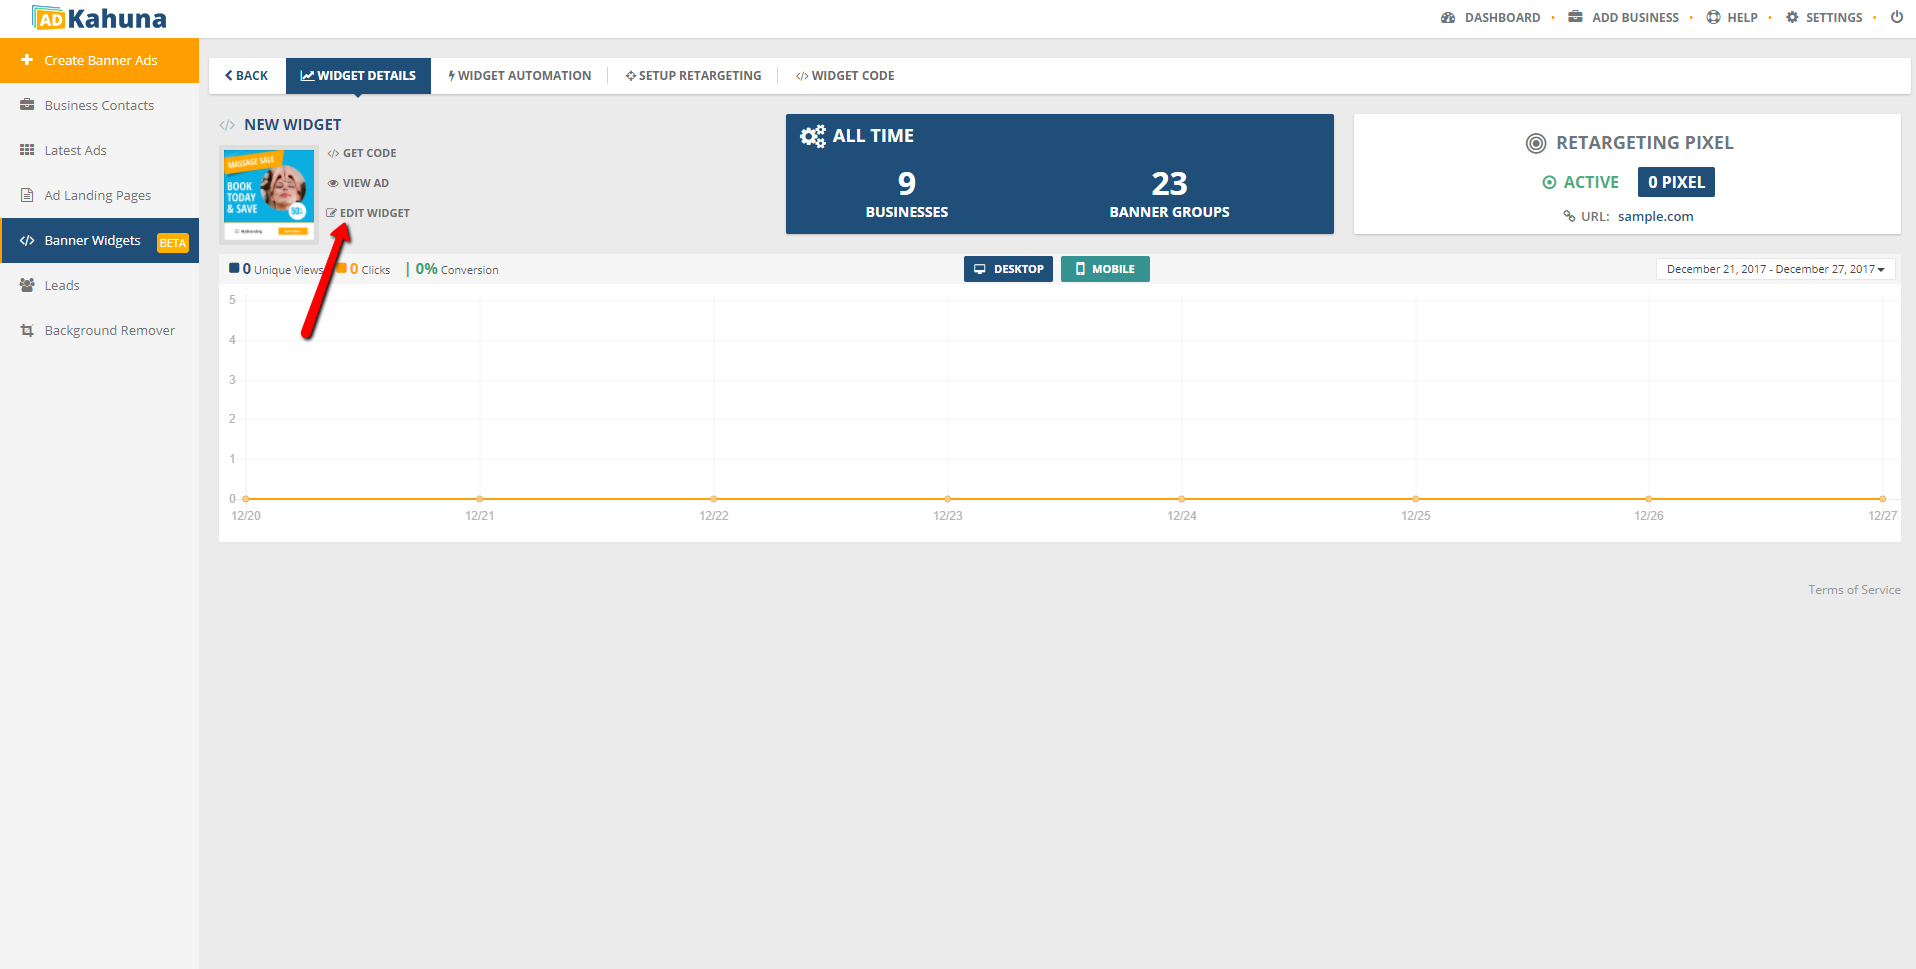
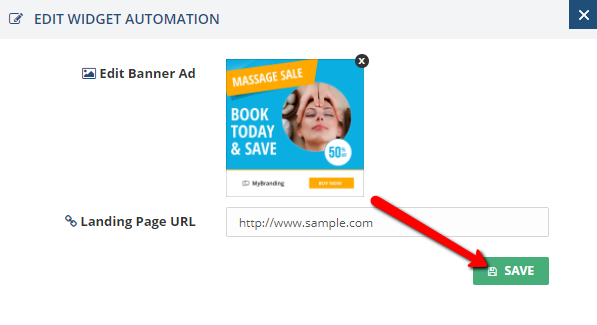
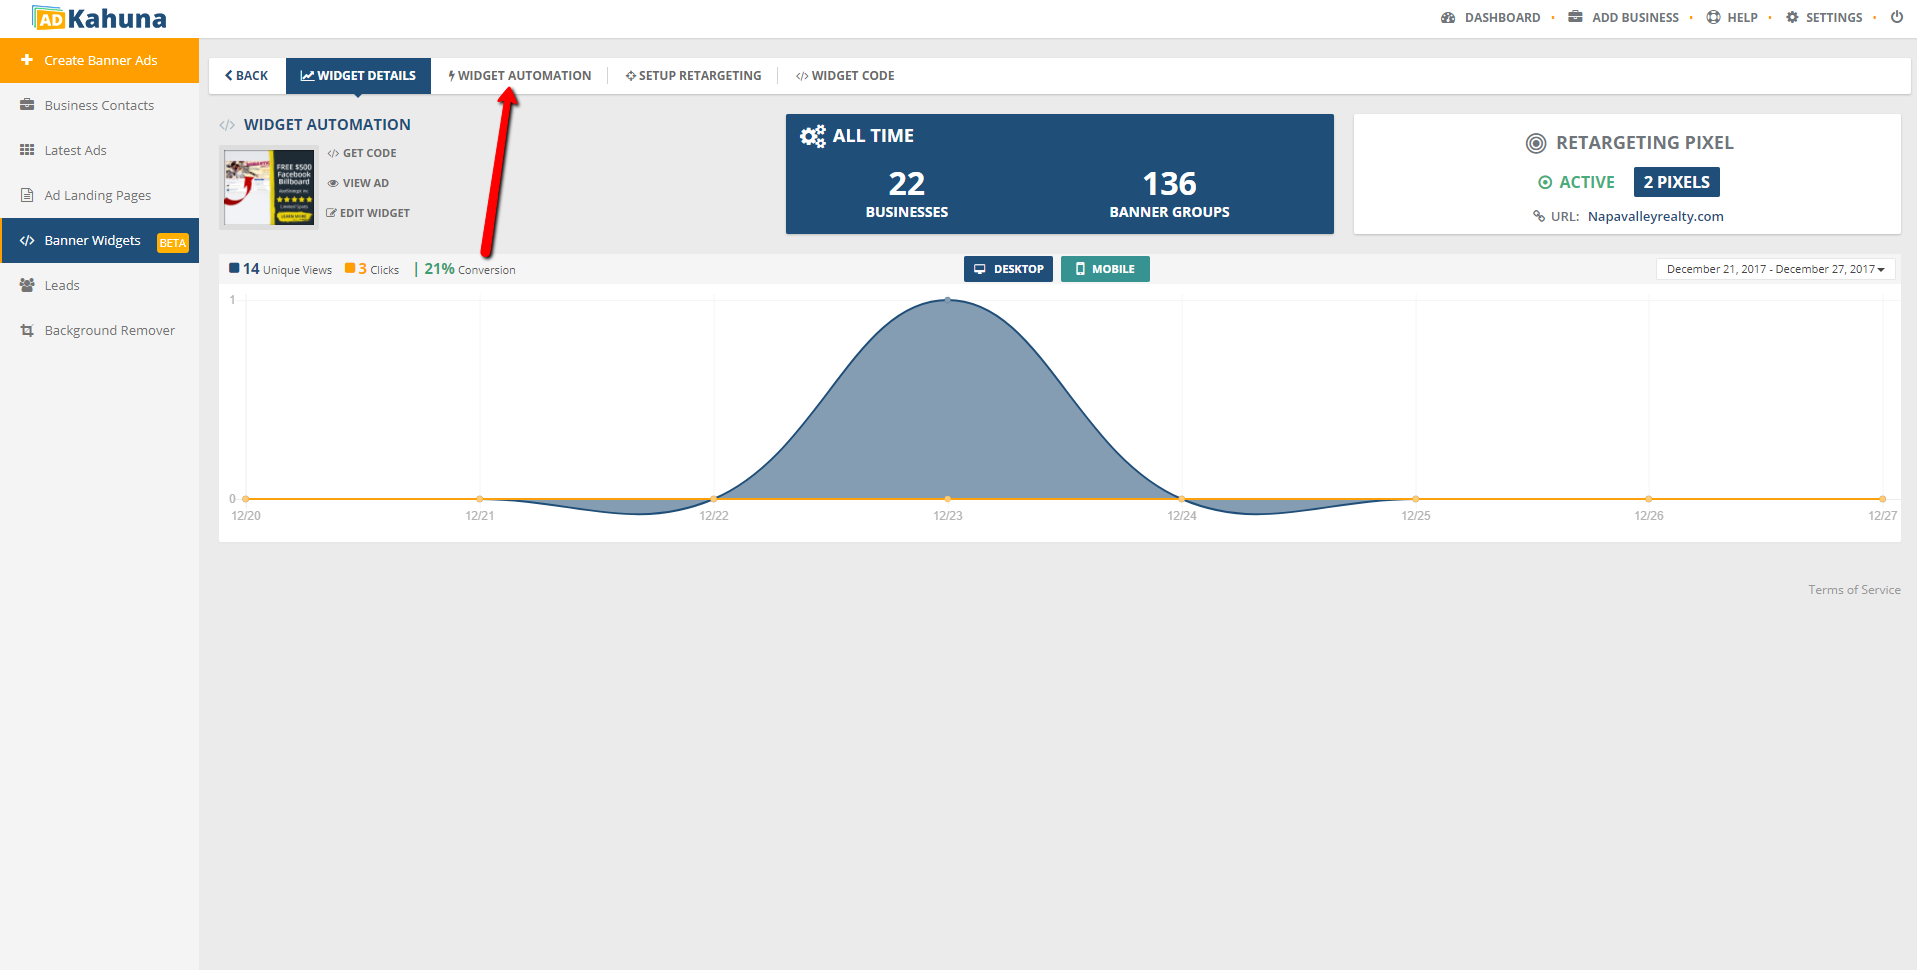
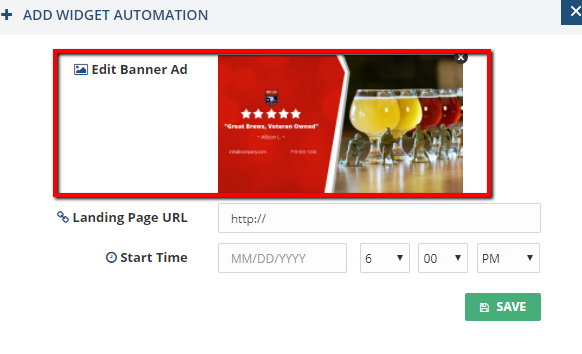
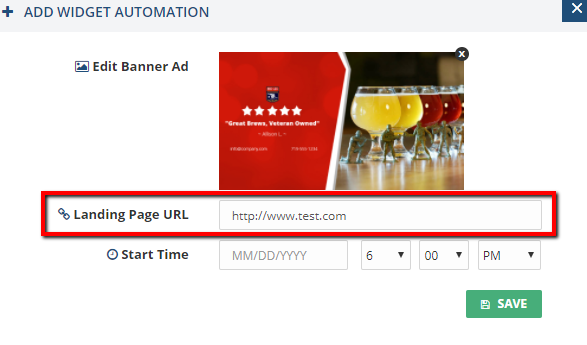
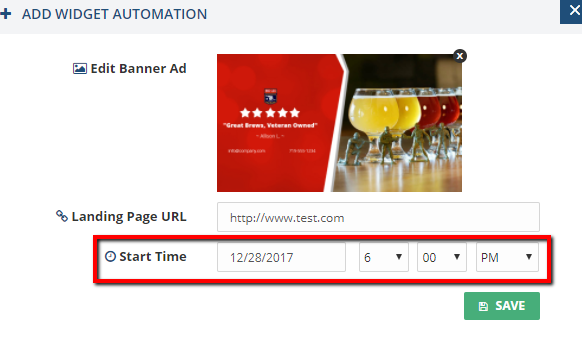
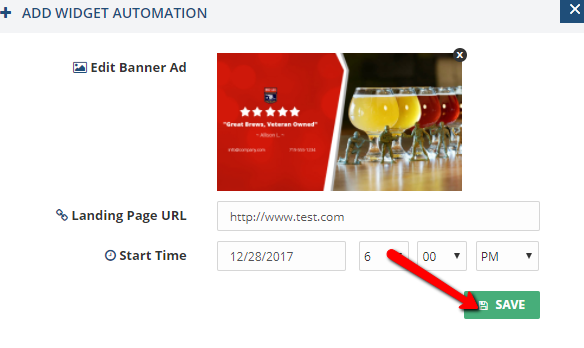
Complete the following steps to successfully use the Banner Widget Automation Dashboard:

  1. Click Get Code to view, copy, or send your Banner Widget's code. Click View Ad to view your Banner Widget. Click Edit Ad to edit your Banner Widget.
  2. Click the Edit icon, which is found in the Actions column, to edit your Banner Widget. Editing allows you to upload a new Banner Widget and change your Banner Widget's Landing Page URL. Click Save when you are finished editing.
  3. Click the Widget Code tab. Click Copy to copy your Banner Widget's code. Click Send Code to send your Banner Widget's code in an email.
  4. Click the Widget Details tab. Once your Banner Ad is posted and is viewed, you can see the Analytics within this section of Ad Kahuna.
  5. Click the date to open the drop-down menu. This allows you to pick the date range from which your Analytics will be drawn from. Click Apply to implement your changes.
  6. Click an icon to that view on and off.
  7. Click Widget Automation.
  8. Click Create Widget Automation.
  9. Upload an image.
  10. Type a Landing Page's URL.
  11. Select a date and time.
  12. Click Save.
  13. Verify that the last Banner Widget says Indefinitely in the Schedule End column.
  14. Click the Posted Widgets tab, which allows you to see which Banner Widgets have posted.
  15. Click the Widget Schedule tab. Click the Duplicate icon (
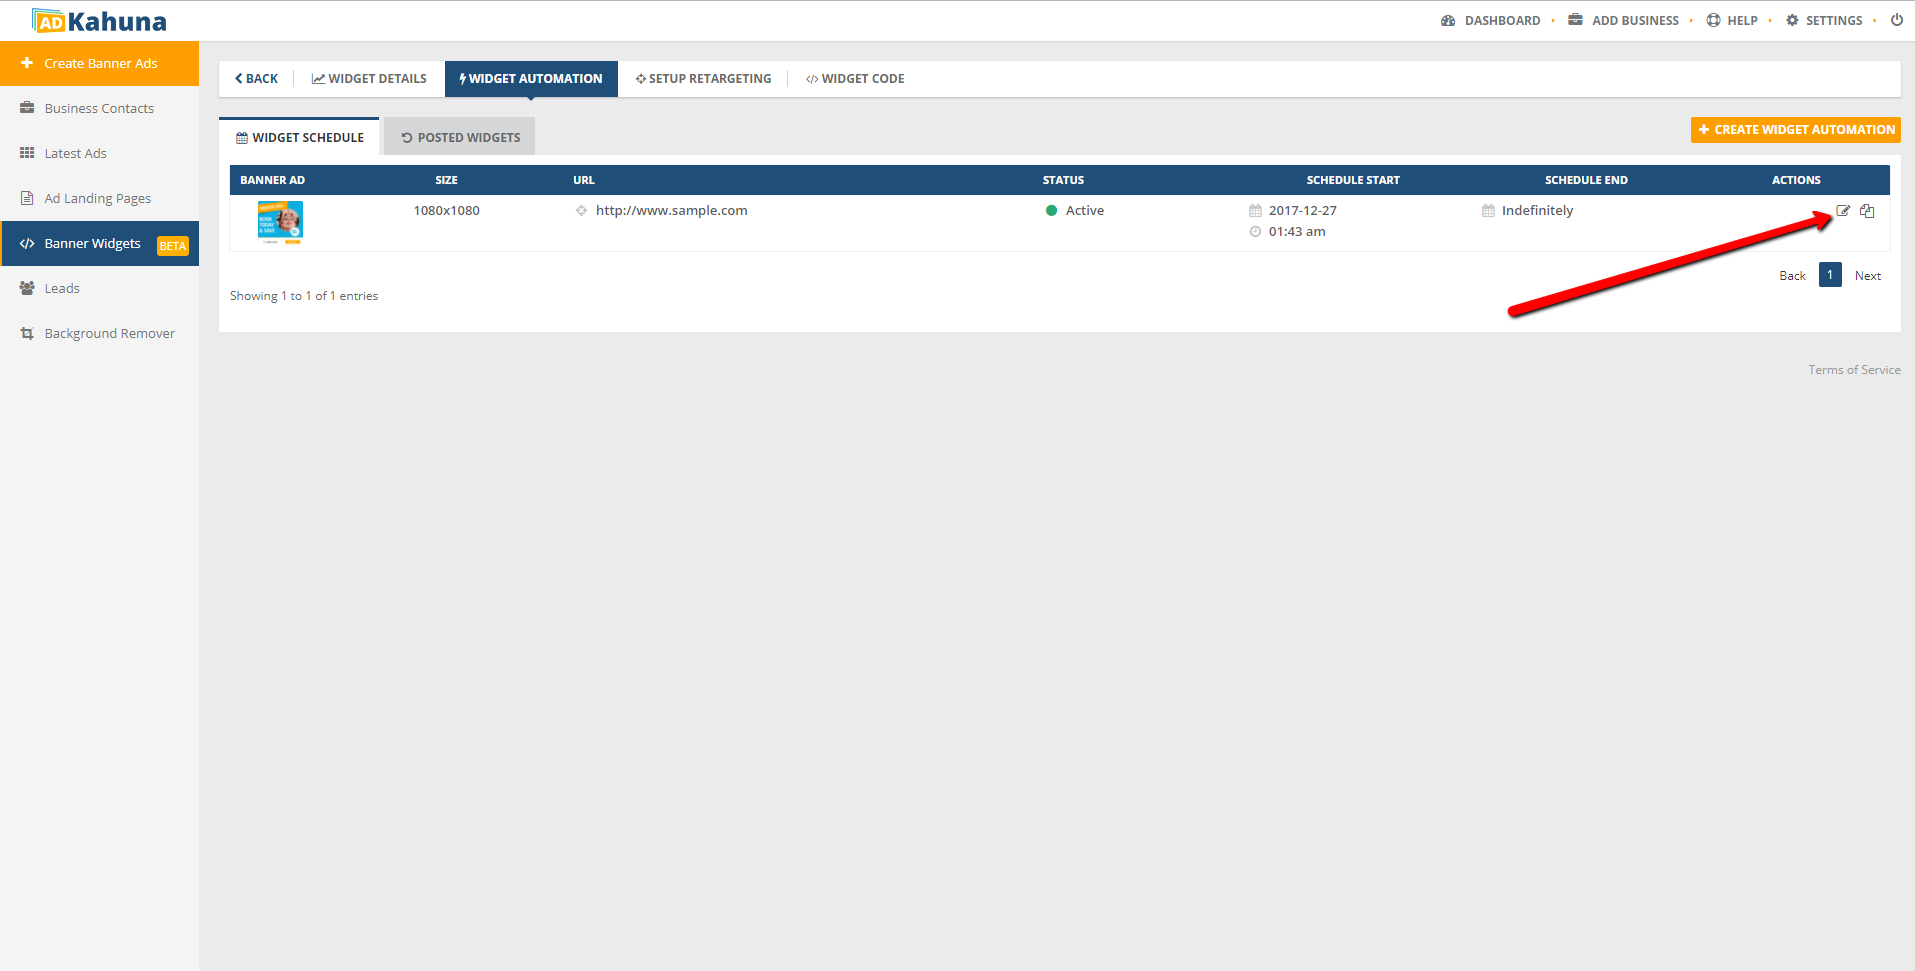
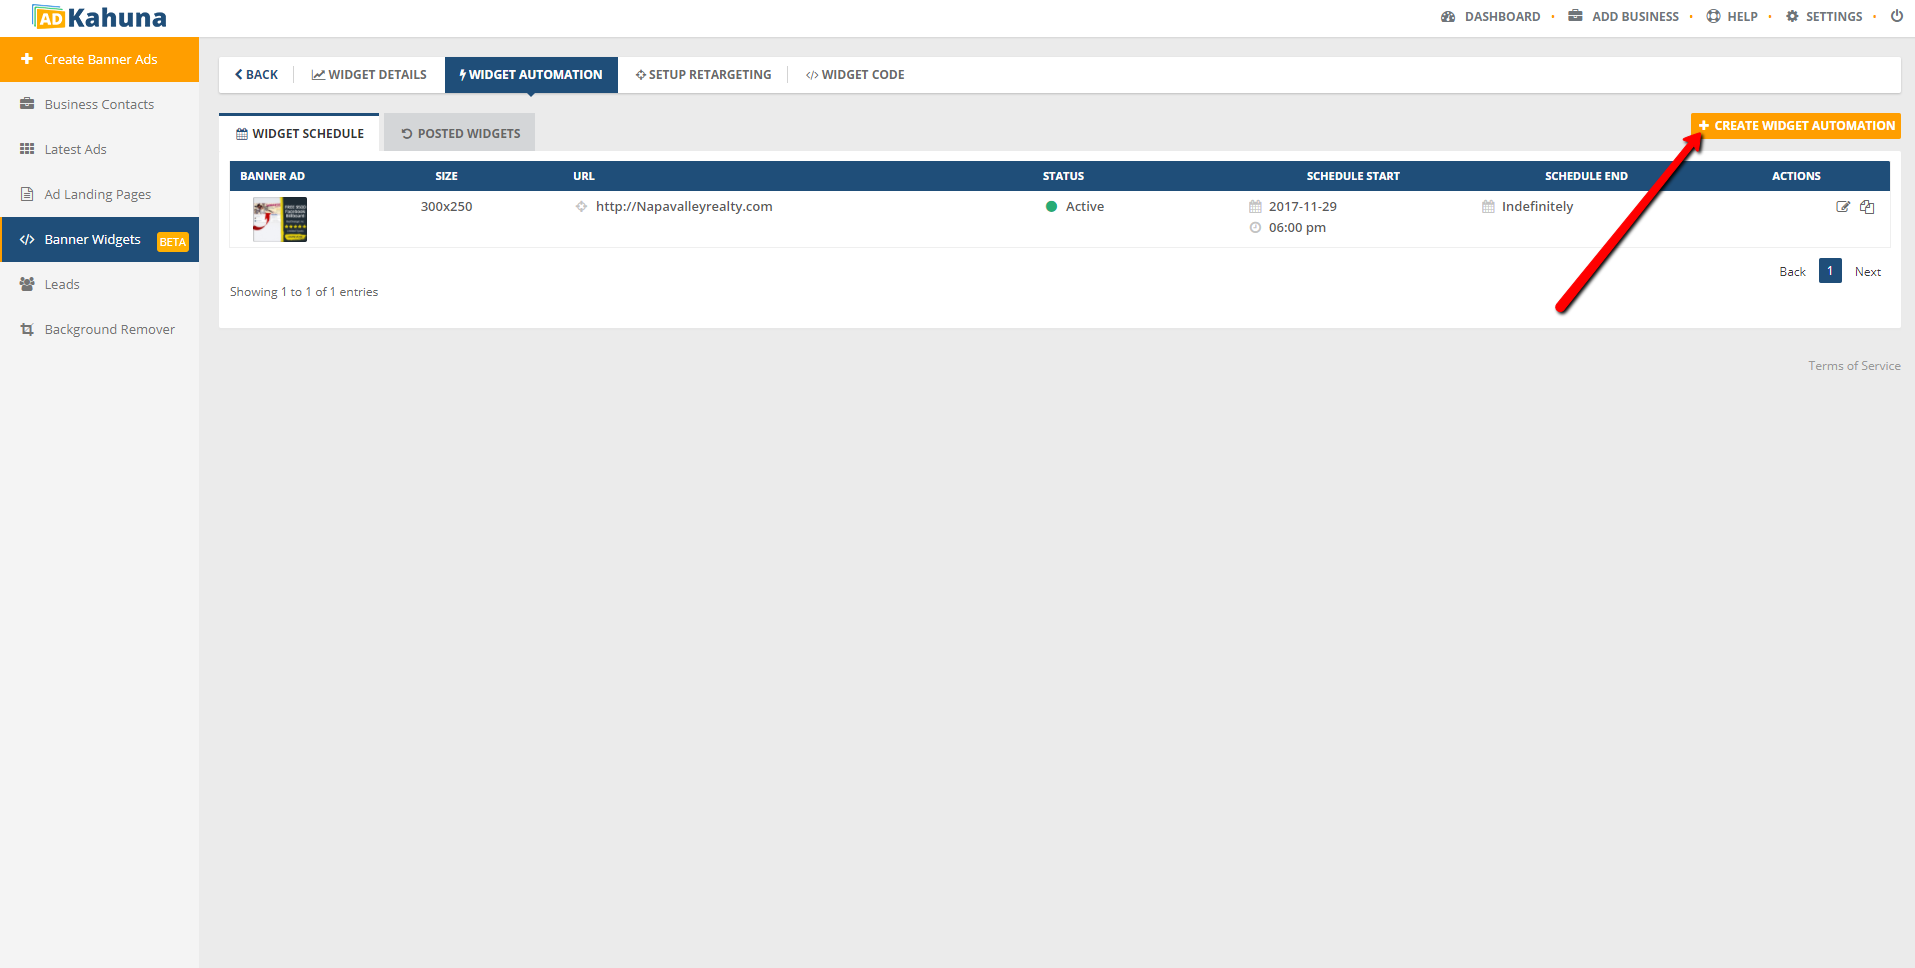
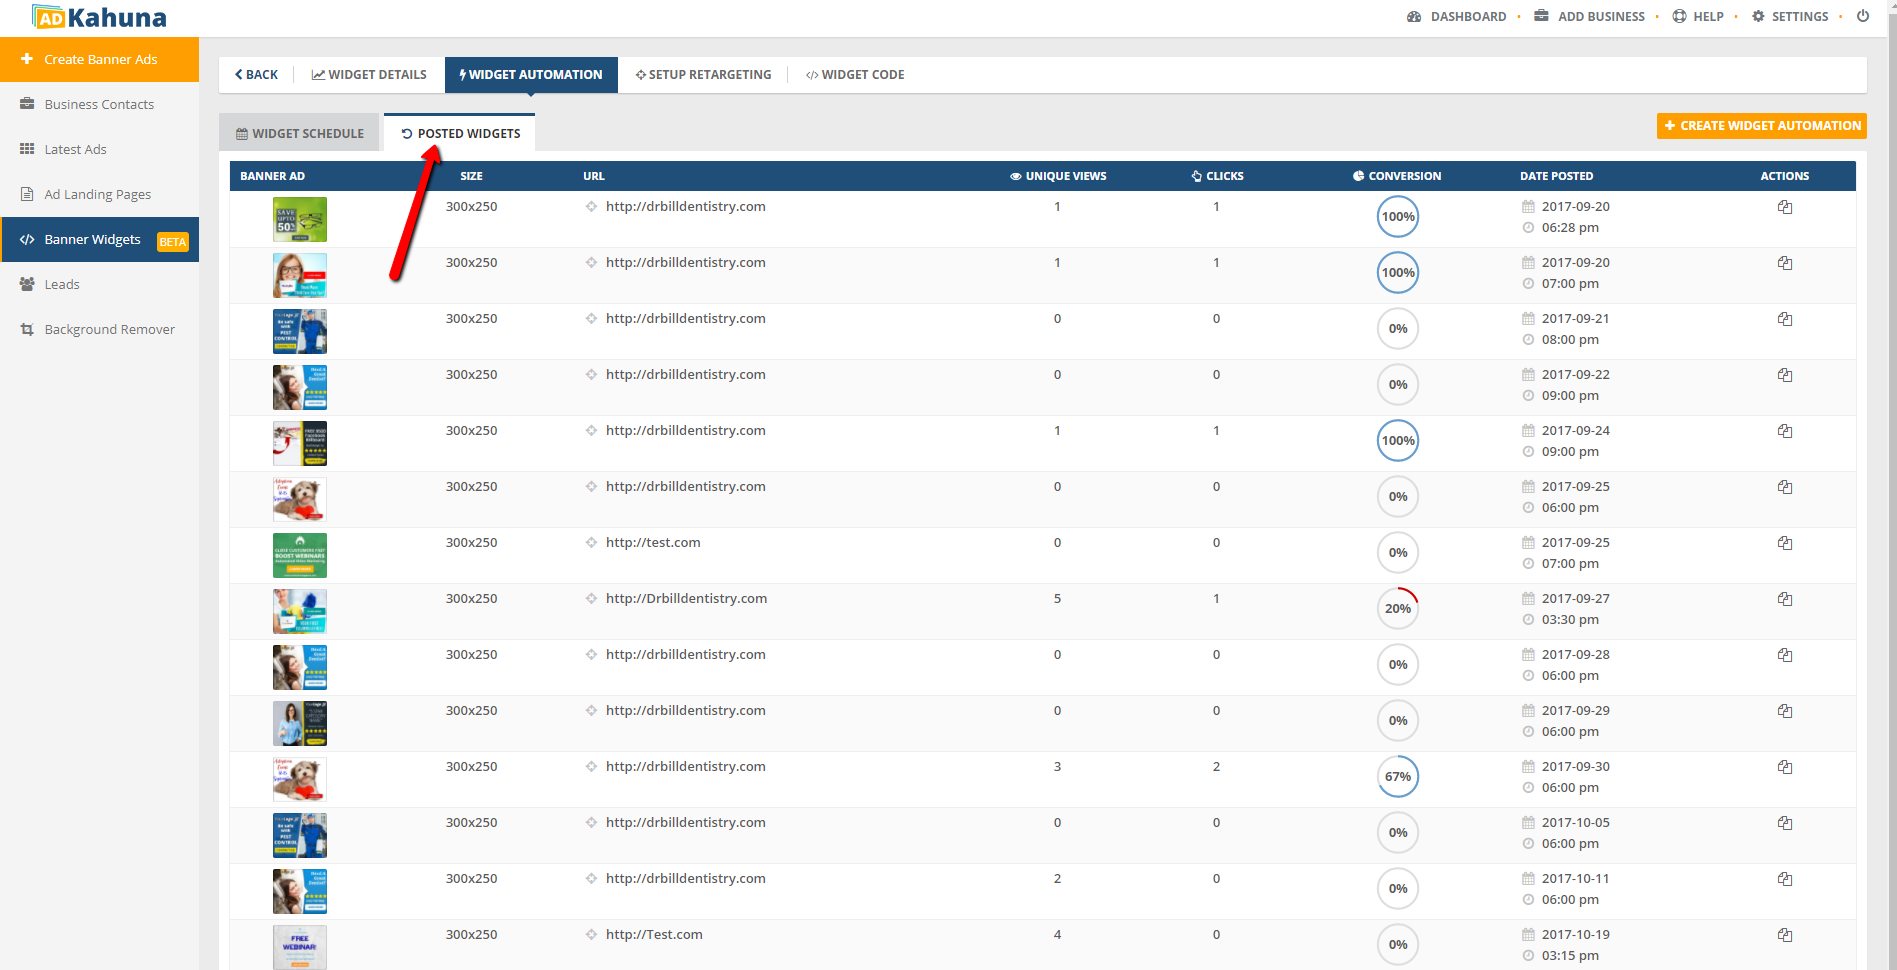
) to duplicate a Widget. Click the Trash icon () to delete a Banner Widget. Click the Edit icon () to edit a Widget.
  16. Click the Setup Retargeting tab.
  17. Click Setup Retargeting Pixel.
  18. Click + Add.
  19. Type a Pixel Name.
  20. Paste your Pixel's code.
  21. Click Save.
  22. Click Choose Retargeting Pixel.
  23. Select a Pixel from the drop-down list.
  24. Click Save.
  25. Click Widget Details.
  26. Ensure that the number of retargeting pixels shown is correct.