Adding a user is a good idea if you have someone like your VA or anyone you assigned to create covers for the businesses you are working with. You can add up to two users in Social Covers.
Once you have added a user, you can directly access their activities to monitor and track their activities within the system. Each user has a unique login URL that you can send to them.
To add a new user, follow these steps:
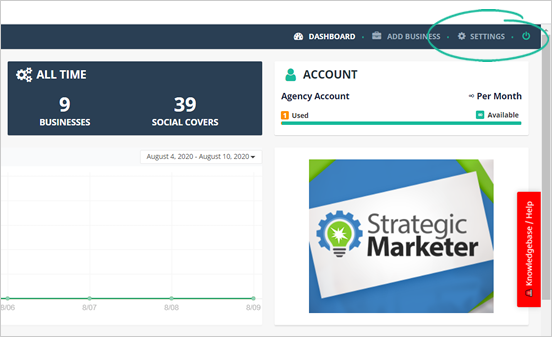
Step 1. On the upper right-hand corner of your page, click Settings.
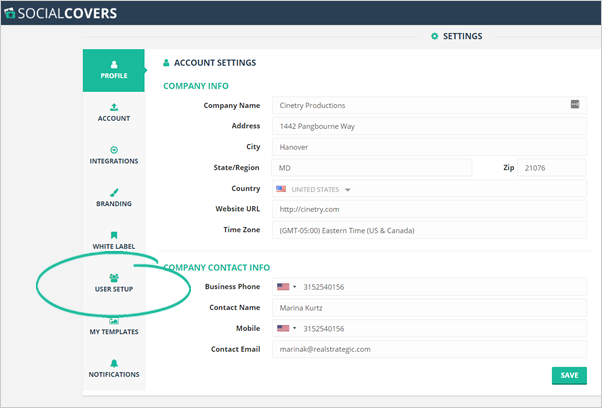
Step 2. Click User Setup.
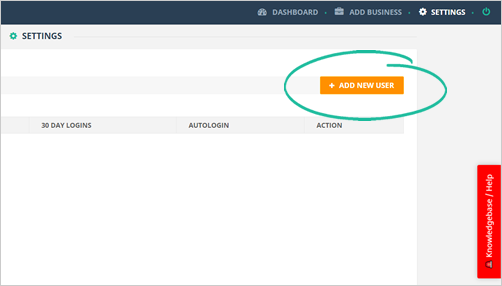
Step 3. Click the Add New User button.
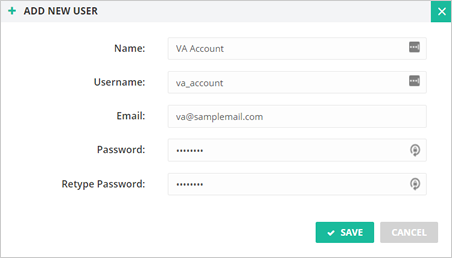
Step 4. Type in the user’s details and click Save.
Since this is a limited account, they can only access Branding, My Templates, and Notifications under Settings.
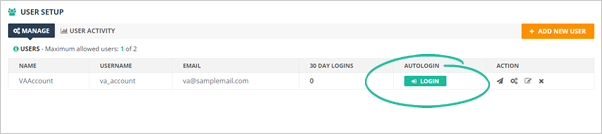
Step 5. To copy the auto-login URL, click Login.
Step 6. You can also resend their login credentials by clicking the Resend User & Pass button.

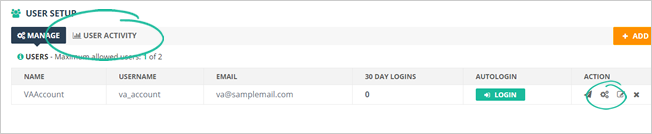
Step 7. To check their activities, click the Activities icon or go to the User Activity tab.
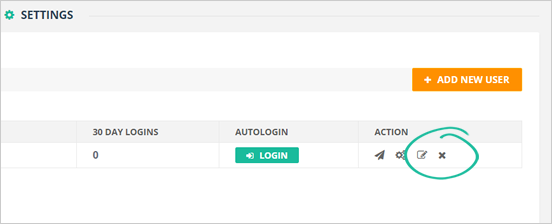
Step 8. If you need to edit the user’s details, click the Edit icon.
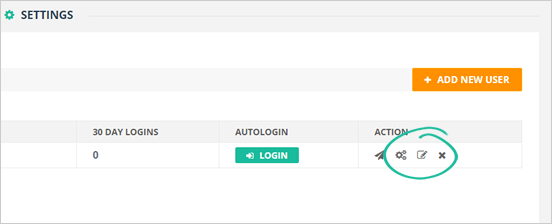
Step 9. There are times also that you need to delete a user. You can do this step by clicking the Remove User icon.
Related Articles:
Agency Integration Settings
Agency Settings: Branding
Agency Settings: White Label
Agency Settings: Profile
Agency Settings: Templates Management
Agency Settings: Notifications