
If you change your mind on who should receive the default notifications, go to this section. If you also have a Sales Representative or VA, you can add their contact details here to receive the notifications immediately.
To start changing your Notification Setup, follow these steps:
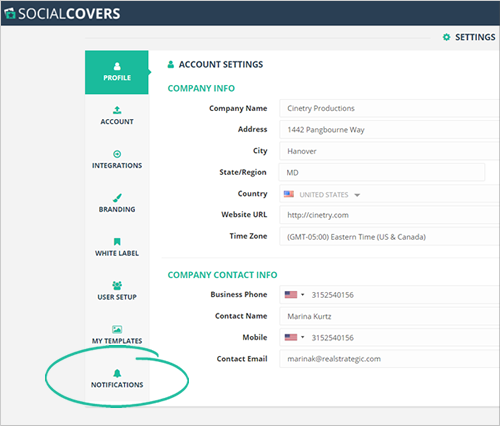
Step 1. On the upper right-hand corner of the page, click Settings.
Step 2. Click Notifications.
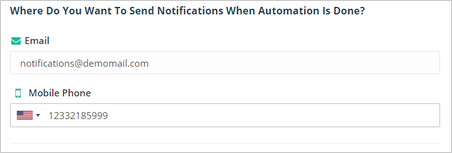
Step 3. In the Lead Alerts tab, Type in the new Email and Mobile Phone Number details of your default notification.
Your default notification will be the notification for your lead alerts once a lead is converted.
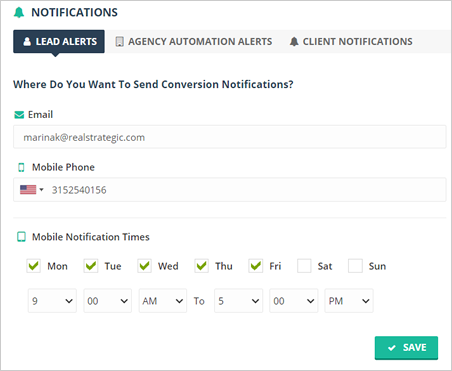
Step 4. Decide on when you would like to see your mobile notifications.
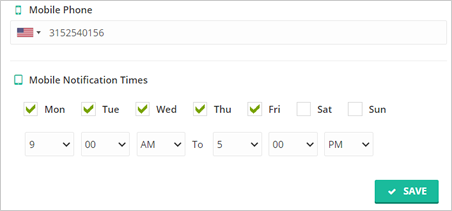
Step 5. Once you are done, click Save.
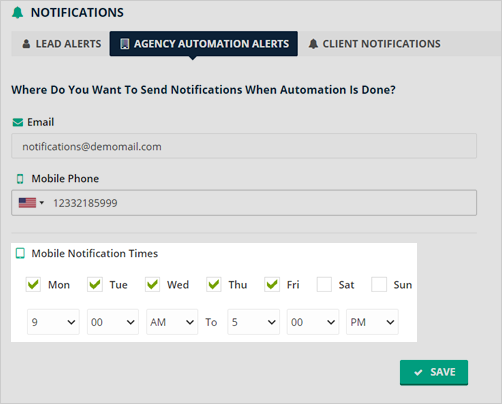
Step 6. Click the Agency Automation Alerts tab to start setting it up.
Your Agency Automation Alerts are the notifications from your automation that will help you know once an automation is triggered.
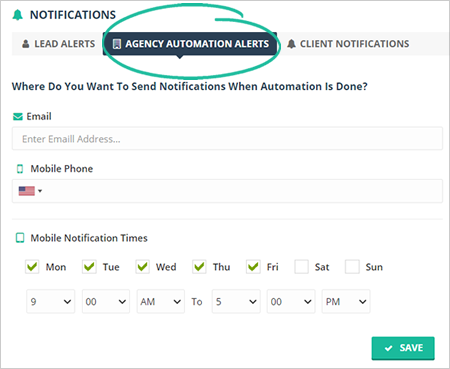
Step 7. Type in the new details for your Agency Automation Alerts and decide if you want to receive the alerts as a text message or email.
Step 8. Decide the schedule of your mobile notifications. Once you are done, click Save.
Step 9. Click the Client Notifications tab to start setting it up.
This section lets you set up the email that you will be sending to your clients, which will notify them that their covers were updated.

Step 10. You can either use the built-in templates here or compose your email if you need to.

Step 11. Once you are done, click Save.
Related Articles:
Agency Integration Settings
Agency Settings: Branding
Agency Settings: White Label
Agency Settings: Profile
Agency Settings: User Setup
Agency Settings: Templates Management