In case you did not complete this process during the initial setup or you want to modify your Agency’s Branding, all you need to do is go to the settings area.
Follow the steps below to update your Agency Branding:
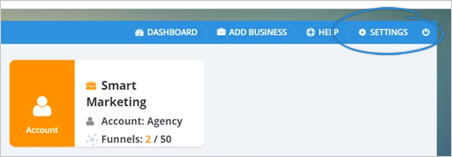
Step 1. From the Agency Dashboard, click Settings.
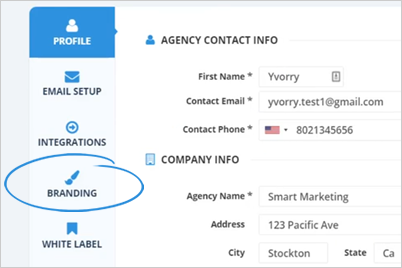
Step 2. Click Branding.
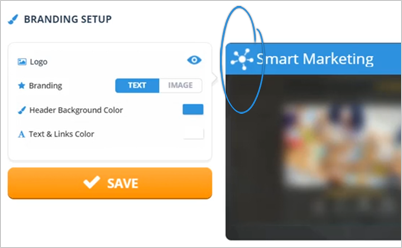
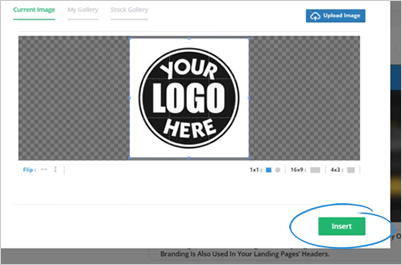
Step 3. To update your logo, click on the image that you want to change.
Step 4. Click the Upload Image button.
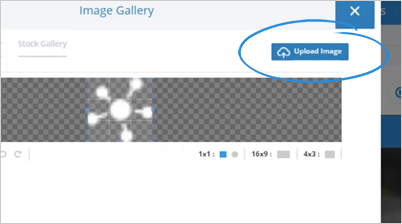
Step 5. Select the aspect ratio that you want to use and click Insert.
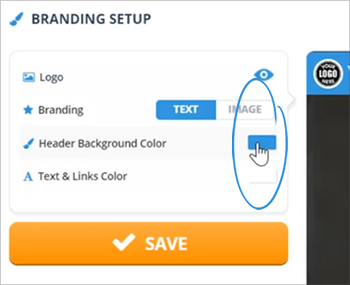
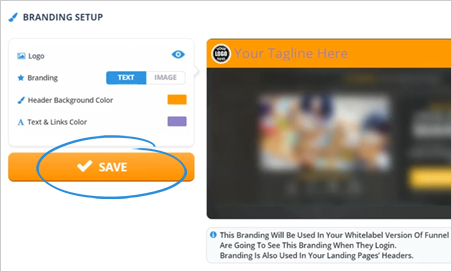
Step 6. You also have the choice of having a branding text or a branding image.

Step 7. To change your branding text, click on the field, and type the new branding text that you want to use.
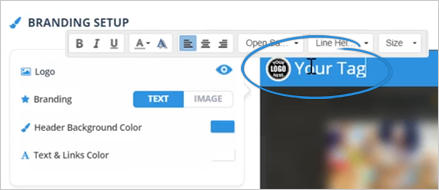
By default, the text displayed here is your company name.
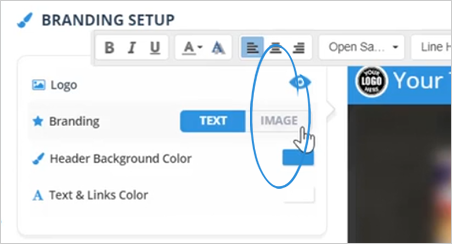
Step 8. If you want to use an image for your branding, click Image.
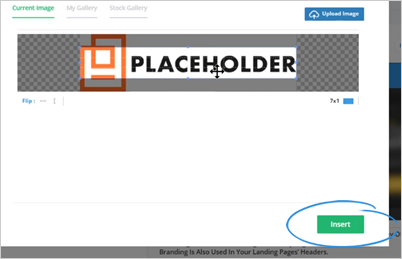
Step 9. Upload the image that you want to use and click Insert.
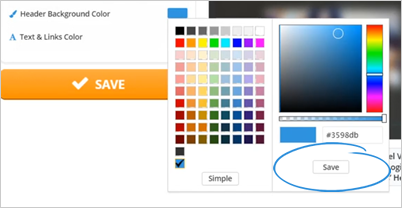
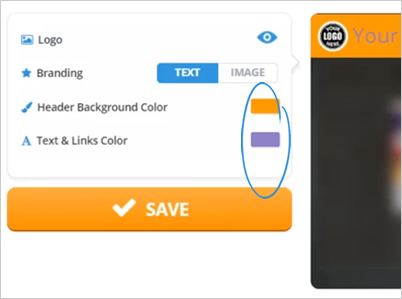
Step 10. You can also customize your header’s background by clicking the color tile.
Step 11. Select the color of your choice and click Save.
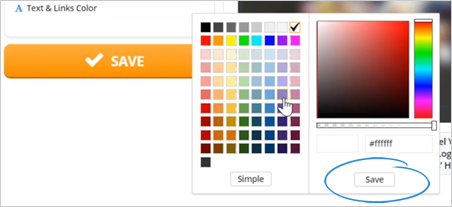
Step 12. To change the color for your text and links, click the color tile.
Step 13. Select a color and click Save.
Step 14. Once you are done customizing your Agency Branding, click Save.
Related Articles:
Agency Email Setup Settings
Agency Integration Settings
Agency Manage Tags Settings
Agency Notifications Settings
Agency In App Ads
Updating A Business Profile