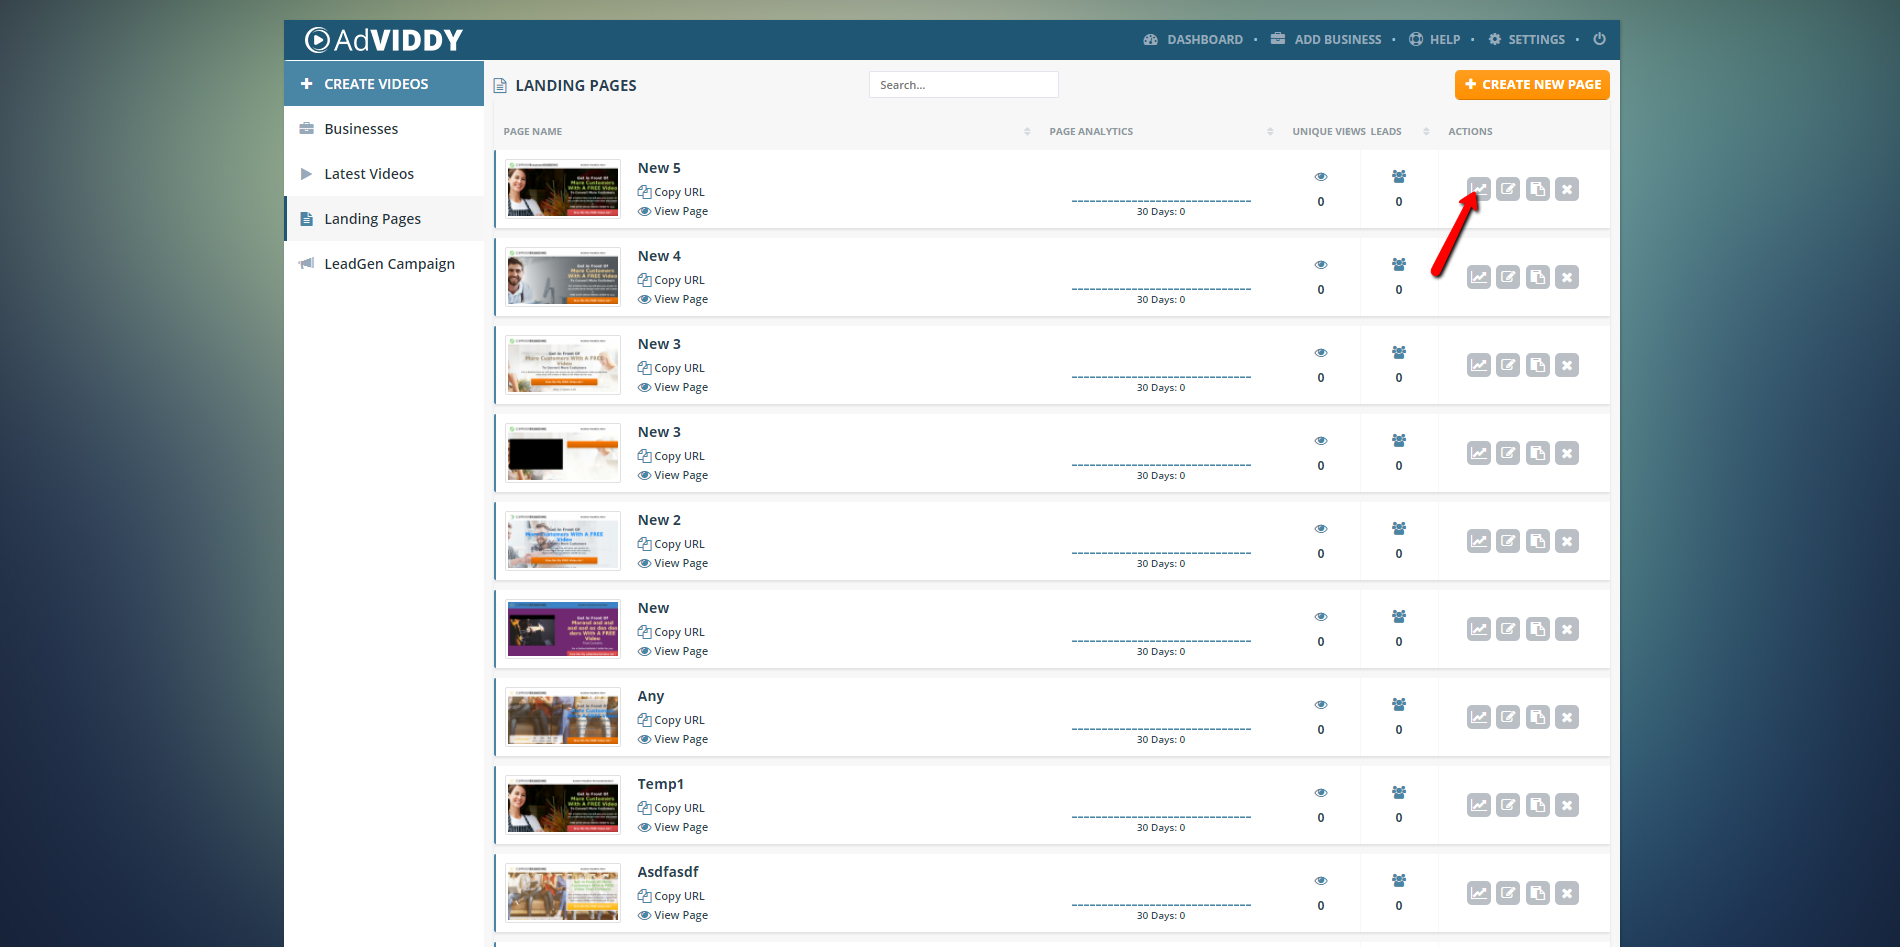
Your Landing Page Automation Dashboard displays a list of all the Campaign Automation that you have created. In here, you have the ability to see the status of your automation and the different action that you can do for each. In this article, we will walk you through on how to create a new automation and show you how to integrate Prospect Rocket into your campaigns.
To create a new Automation, follow these steps:
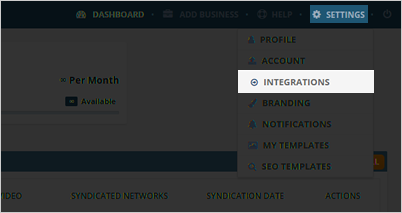
- Before you can integrate your Prospect Rocket campaigns into your AdViddy Landing Pages, make sure that you have added Prospect Rocket under the AdViddy Integration. You can check this by going to ‘Settings’ > ‘Integrations’.
- Create a new Landing Page or use the existing Landing Page that you already have. You will be able to setup your automation with the integration work with Prospect Rocket that you have currently setup.
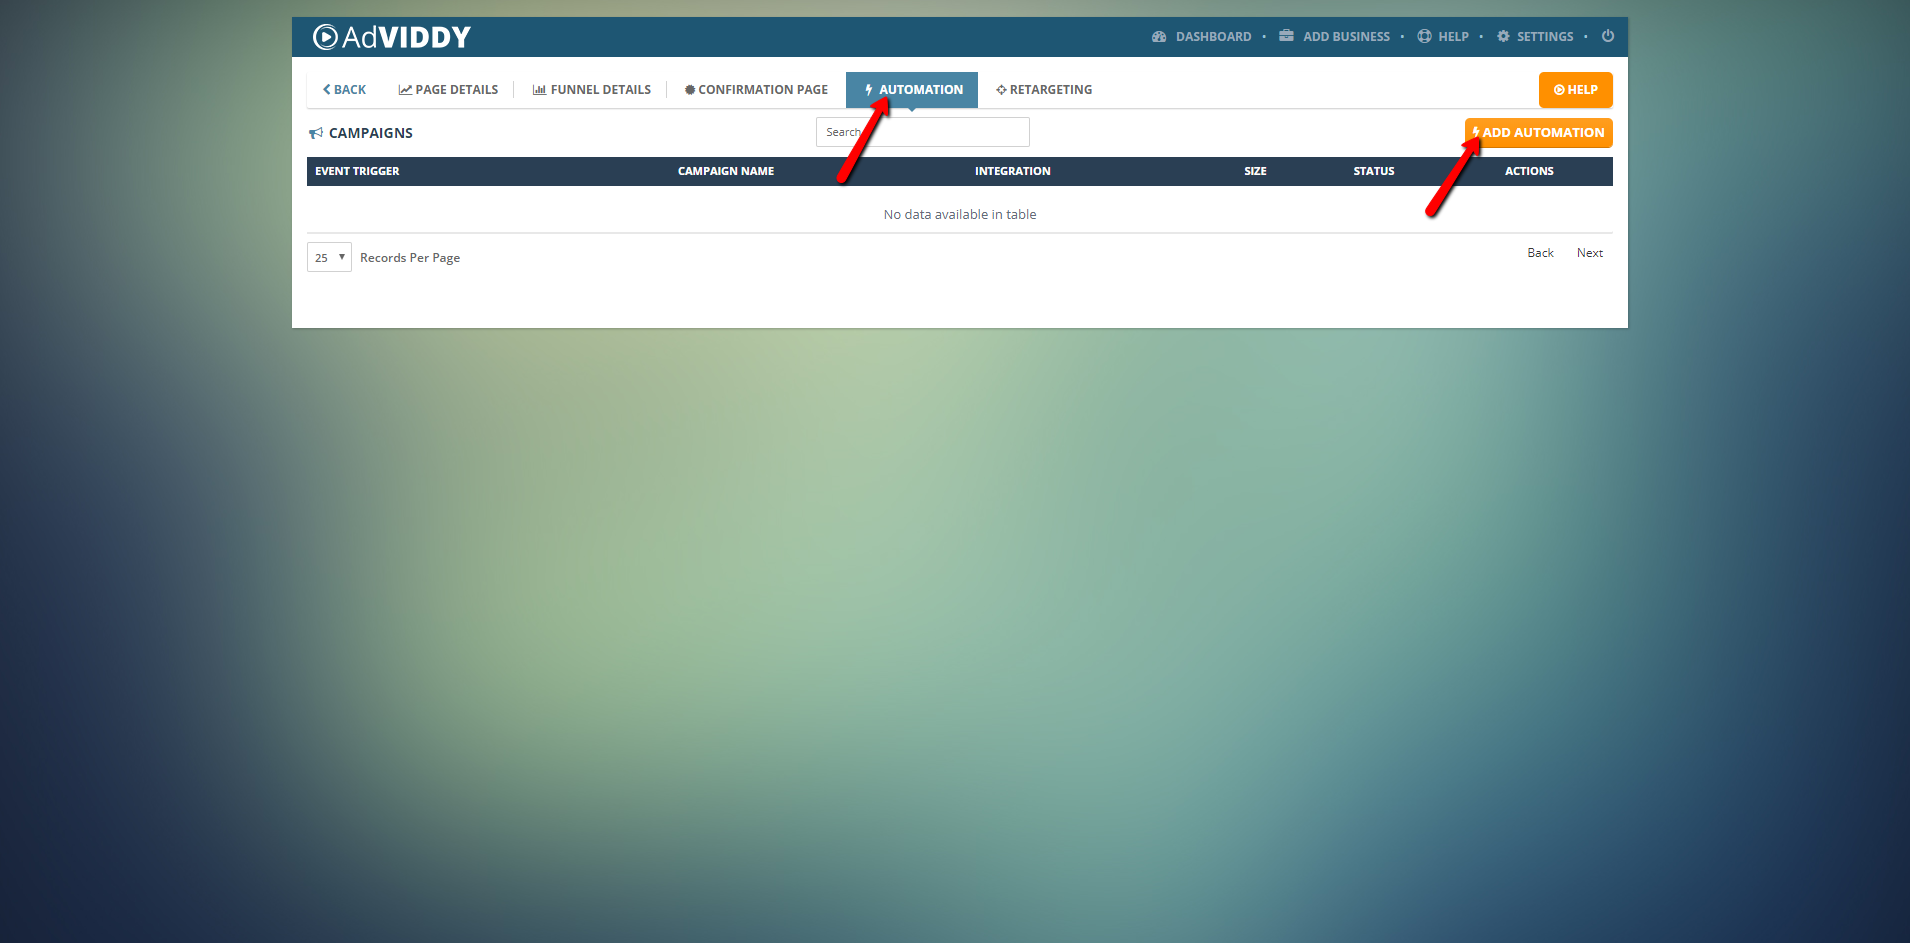
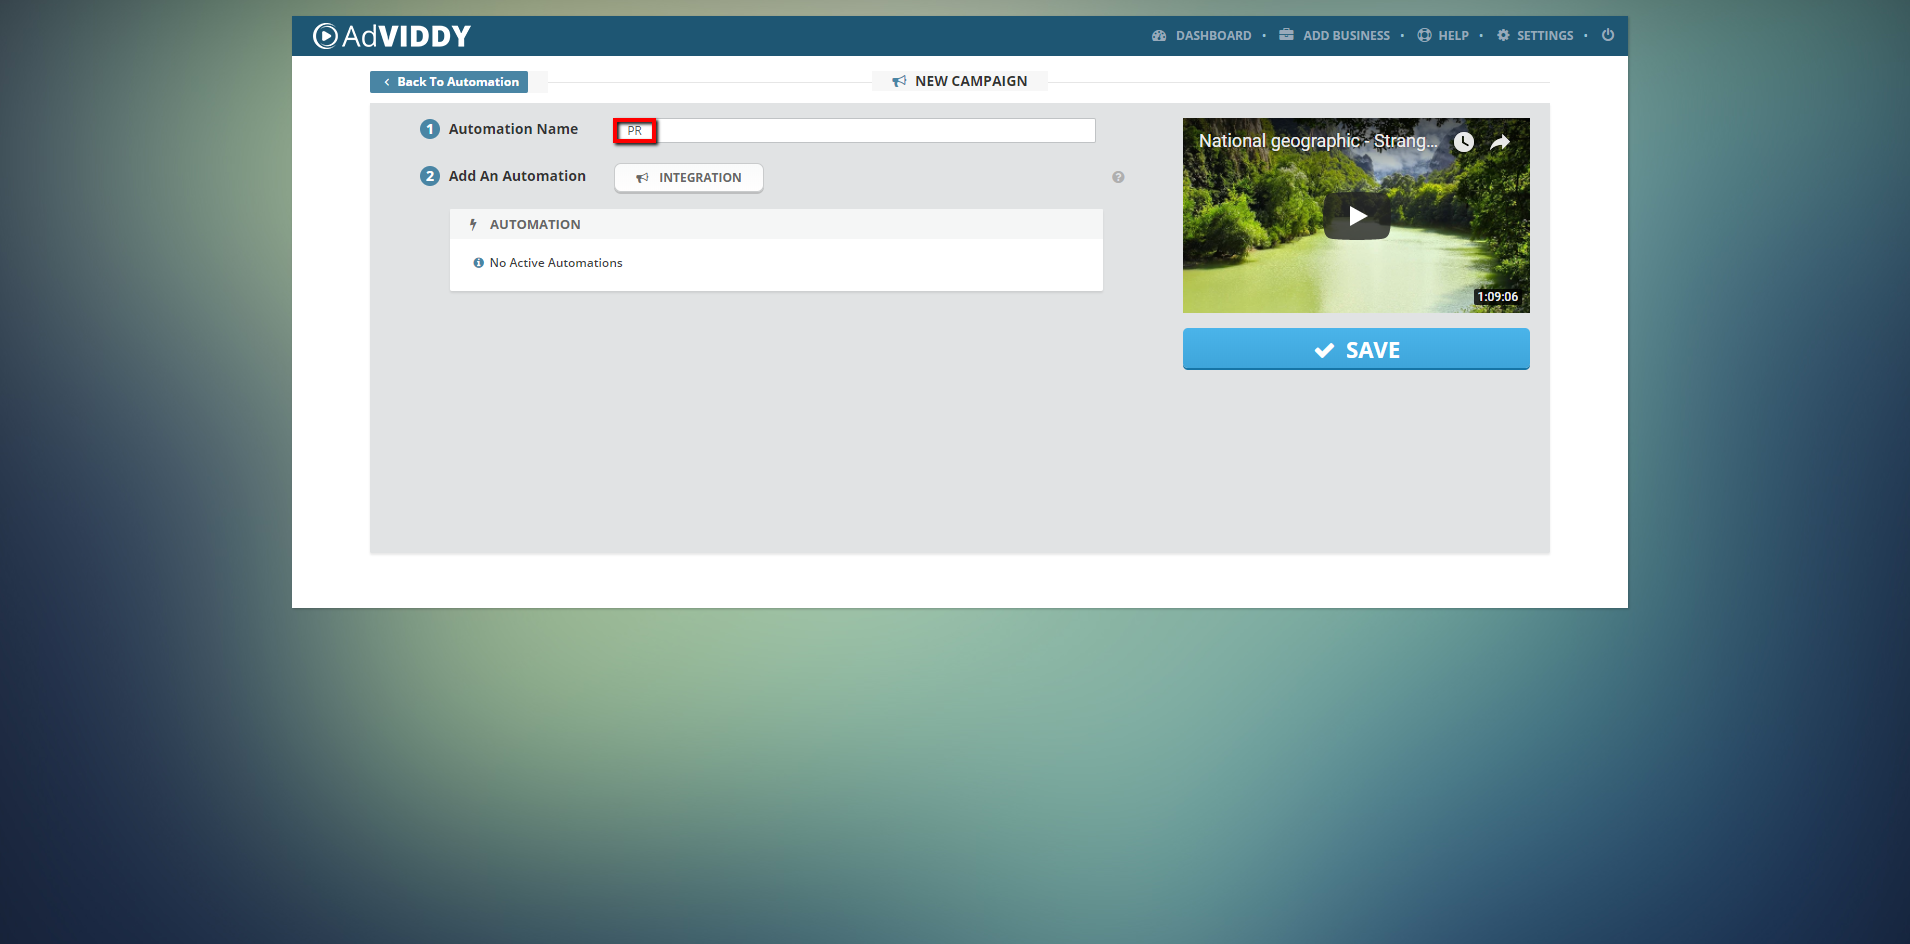
- Now from the dashboard page, go to ‘Automation’ then click ‘Add Automation’.
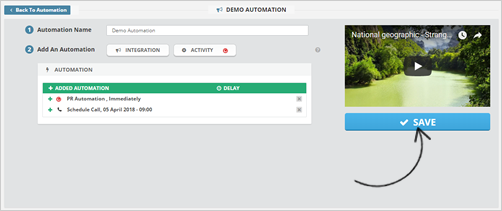
- Type the name of your Automation.
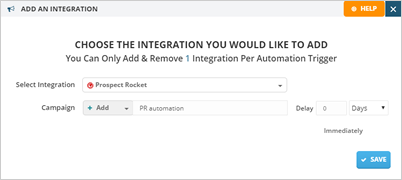
- Select a Prospect Rocket as your Automation Trigger. Setting a Trigger allows you to setup the automation to start whenever someone opted in. When someone hits the button requesting their free video ad, the trigger you have added will function and immediately process your automation. You can select multiple triggers depending on how you will be running your campaign.
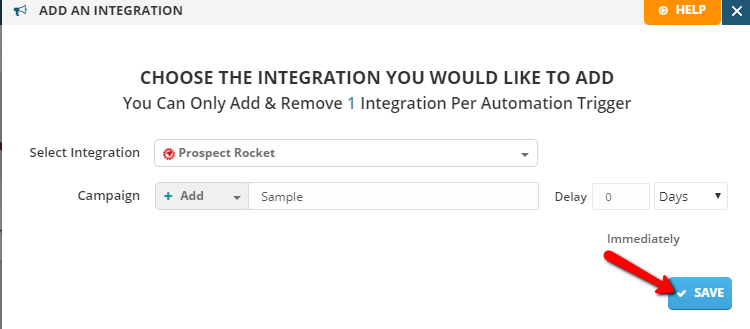
Then select the campaign of your choice. You can also setup the delay if necessary but if you want to send it immediately, set the delay to zero (0). Once done, hit ‘Save’.
- Now once you have set up your campaign’s integration, the next step is to set up the campaign’s Activity. Please click ‘Activity’.
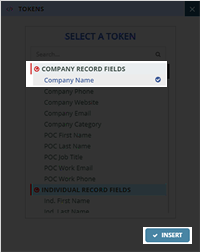
- You will see various items that you can update on the form that you will be seeing in Prospect Rocket. For example Business, Contact, Activity, the information about the contact, and the date. You can update the placeholders for each of these fields by clicking on the ‘Tokens’ (
 ) and select the tokens that you want to see. You can select multiple tokens at the same time, just click ‘Insert’ and go back to the token to add more.

|
|
- You have just added a new Automation. Hit ‘Save’ to finalize your campaign.