This article will guide you step-by-step on how you can add a Traffic Fuel Retargeting Pixel into a website. Below are the steps that will show you on how this is done.
Step-by-Step Instruction:
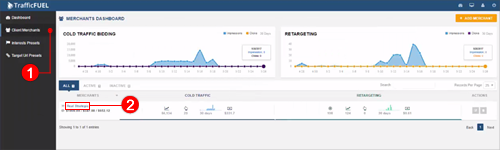
1. Login to Traffic Fuel and then go to Client Merchants (1) and click on the merchant that you want to add their Retargeting Pixel into - their website or webpage.
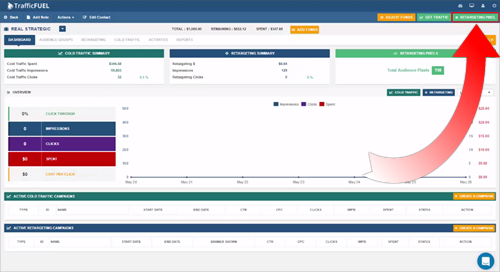
2. From the merchant dashboard, click Retargeting Pixel.
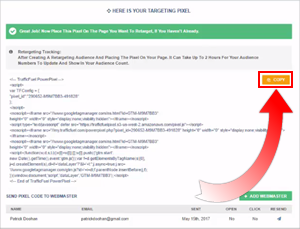
3. Hit Copy to put the code in your clipboard.
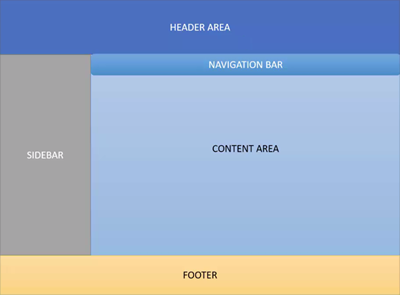
🛈 A website is comprised of a number of areas such as the Header Area, Navigation Bar, Sidebar, Content Area and the Footer. Depending on the tracking code that you are using, it is typically put in on either the Header or the Footer Area of a website. The Traffic Fuel Retargeting Pixel is added to the Header Area of the website.
Depending on the website builder, the programmer that created your website or the platform that they have chosen, the Header Area could be a completely separate file that is coming from your web server or it could be a code that is within an individual webpage or some variation thereof. The most popular platforms will often have the header as a separate file.
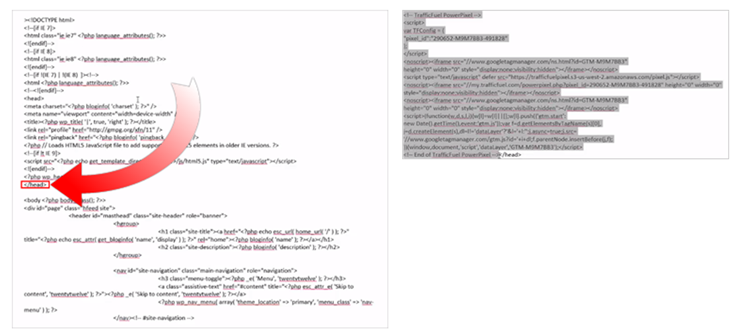
4. Identify the header area(s) of the website. Paste the code just before the closing head tag </head> part of the website’s header code.
Note: ⚠ Keep in mind that the Traffic Fuel Retargeting Pixel is always added into the header area of the website or web pages that you are adding it to.